Lifetime and One-time plans
Shipped Friday, 6 Nov 2026 at 22:39 UTC
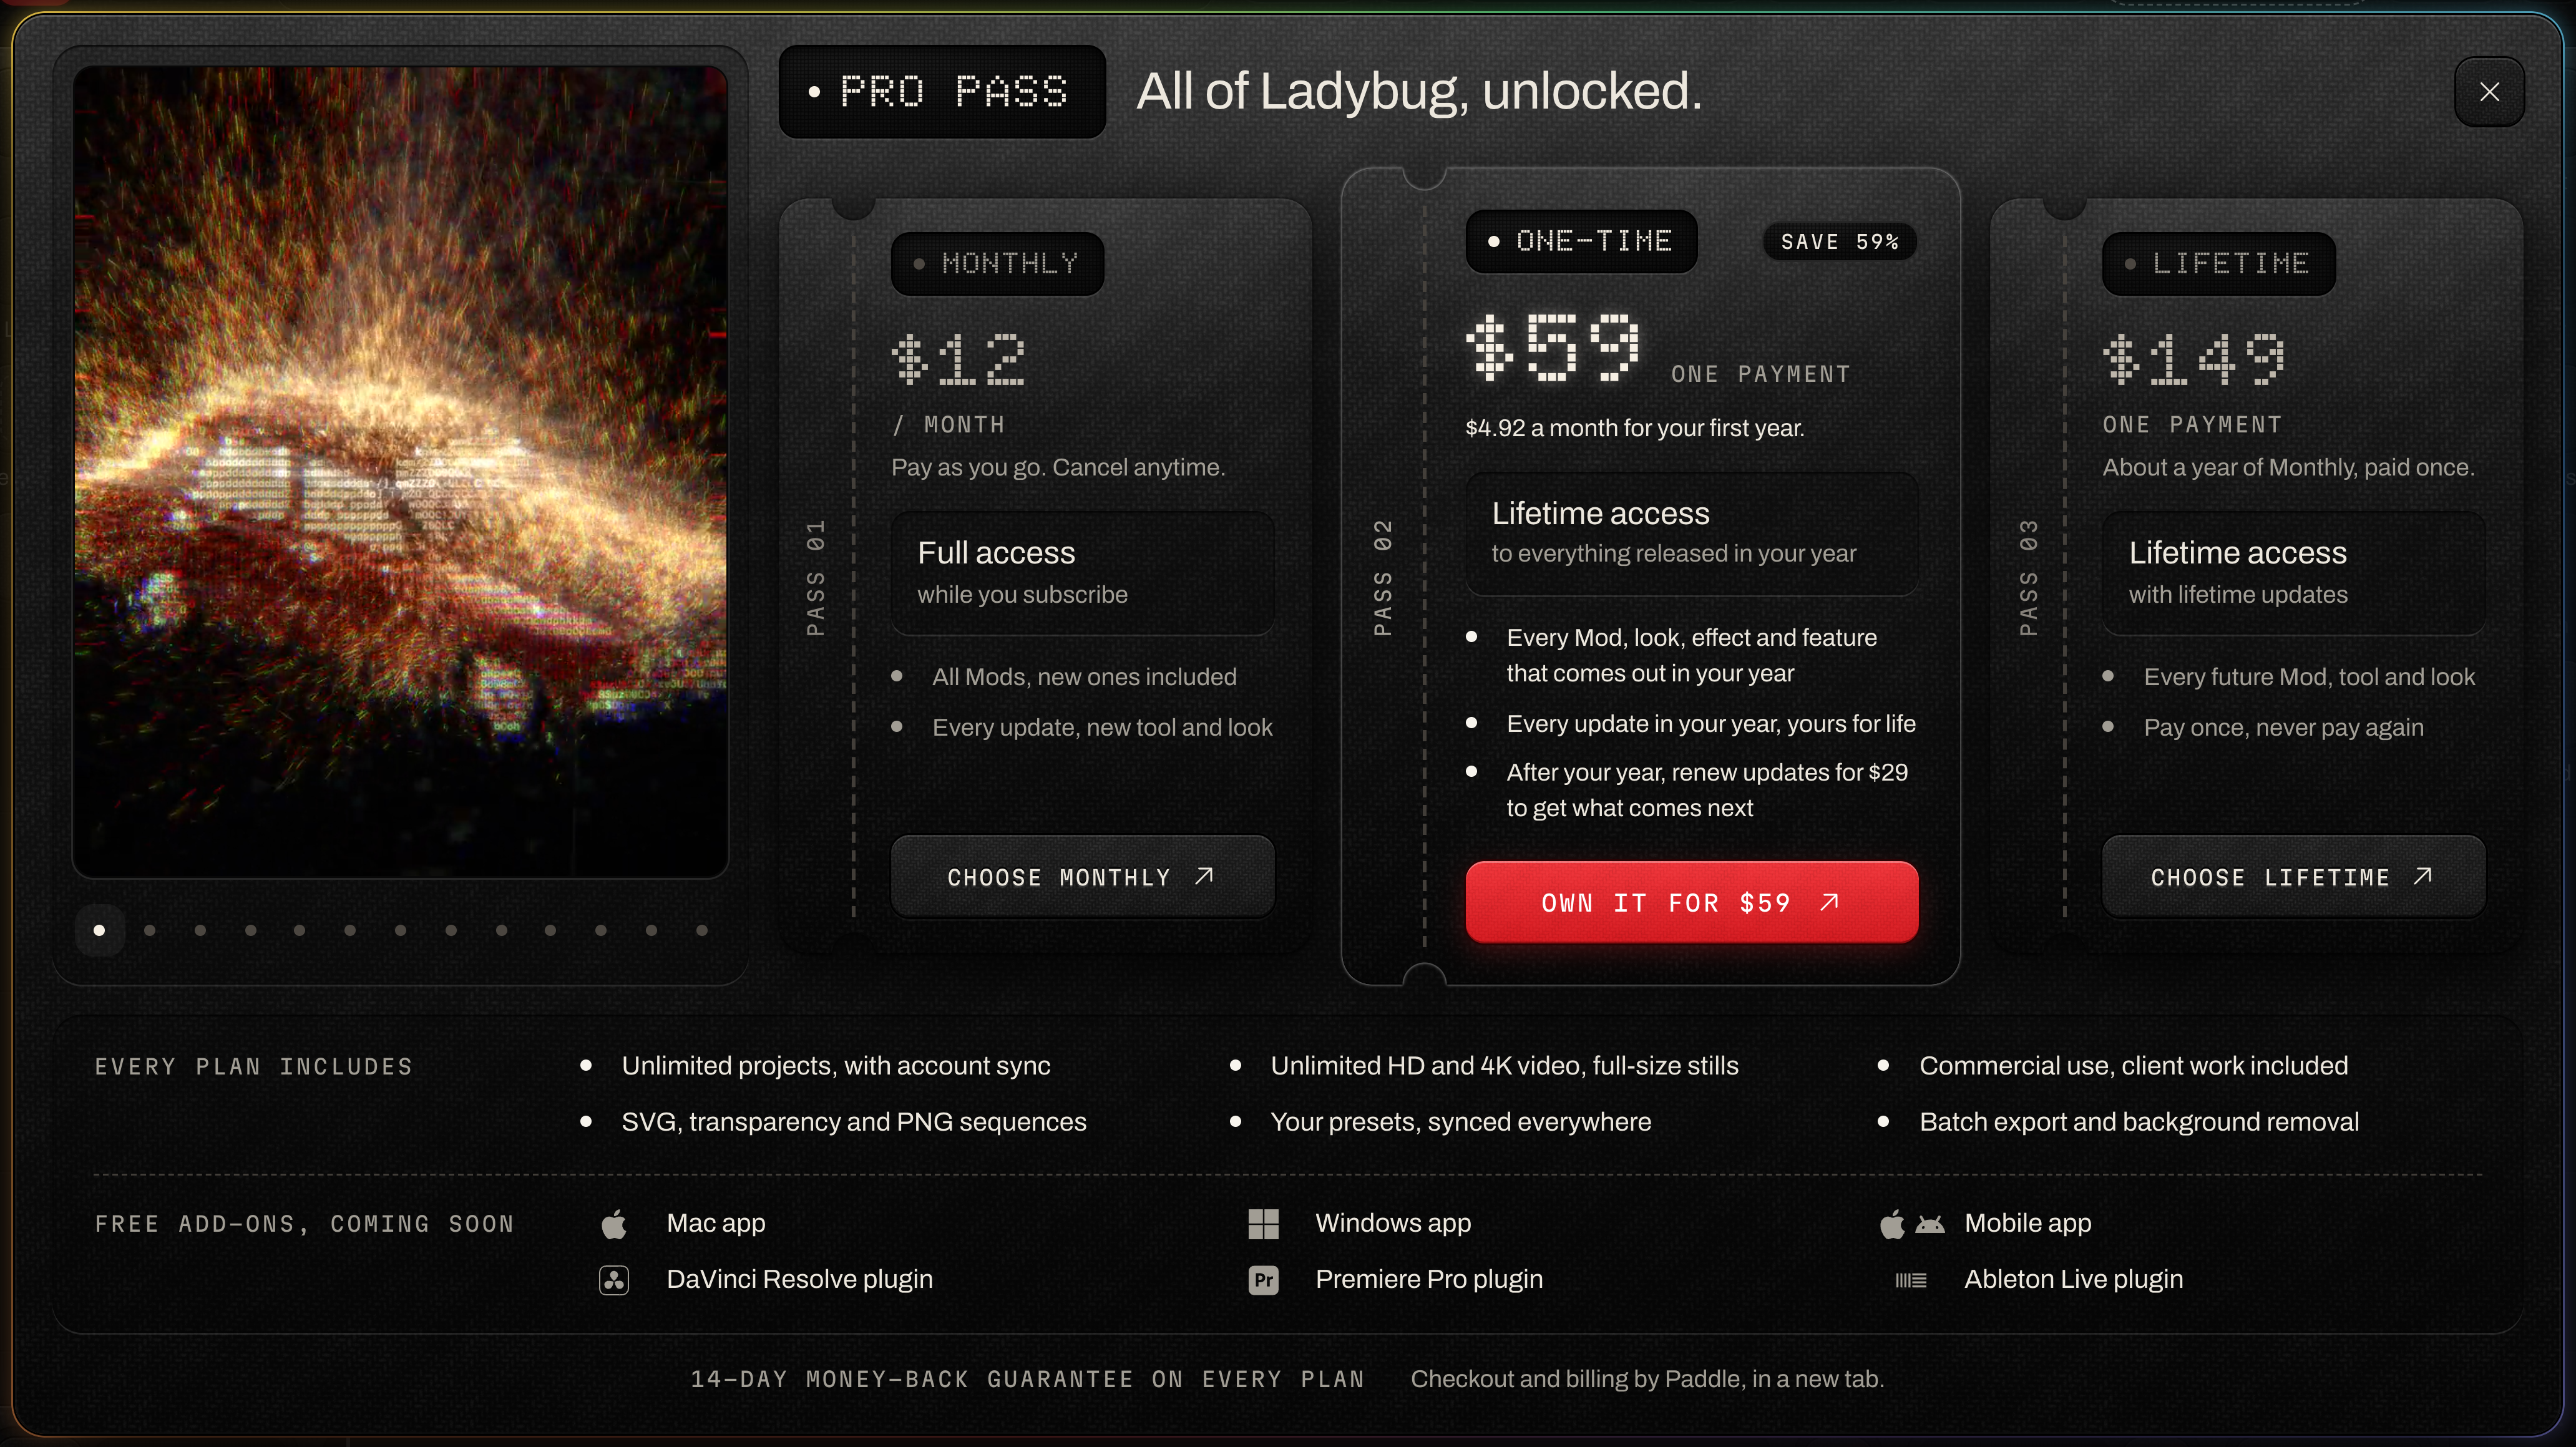
Ladybug Pro now has three plans. Monthly stays as it is. Lifetime and One-time are a single payment, with no subscription.
Lifetime is one payment of $149 and gets every update, for good. One-time is one payment of $59: everything released in your first year is yours for life, and $29 adds another year of updates when you want them. Monthly stays at $12 a month. Your price shows in your own currency.
- 01Press Go Pro at the top right of the studio. On a phone, open the Ladybug menu and press Go Pro.
- 02Pick Lifetime, One-time or Monthly.
- 03Pay in the Paddle tab that opens. Pro turns on in the studio by itself.
Your free Pro exports, shown in Export
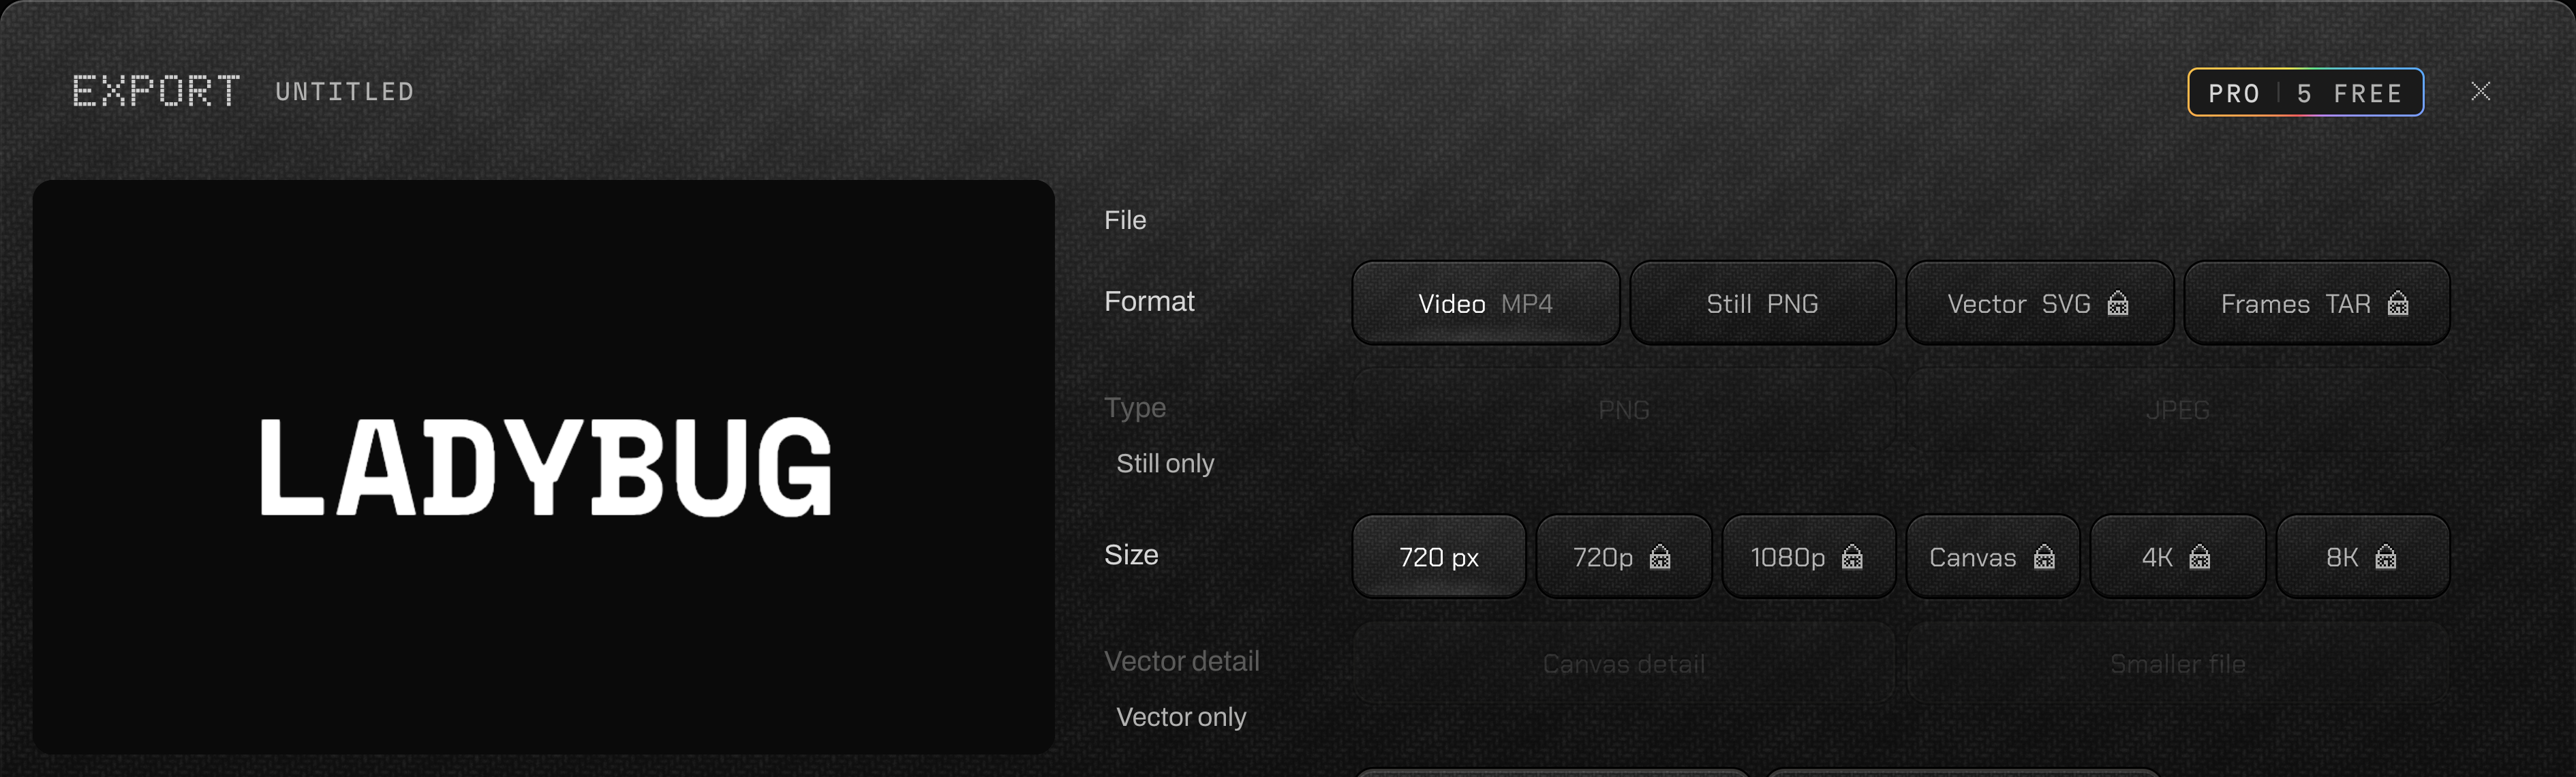
Export now shows the Pro chip beside its close key, with how many free Pro exports you have left. A free account starts with five, then gets two a month. With Pro it says Unlimited.
- 01Open Export.
- 02Look at the chip at the top right: your free Pro exports, or Unlimited with Pro.
Your own fonts are part of Pro
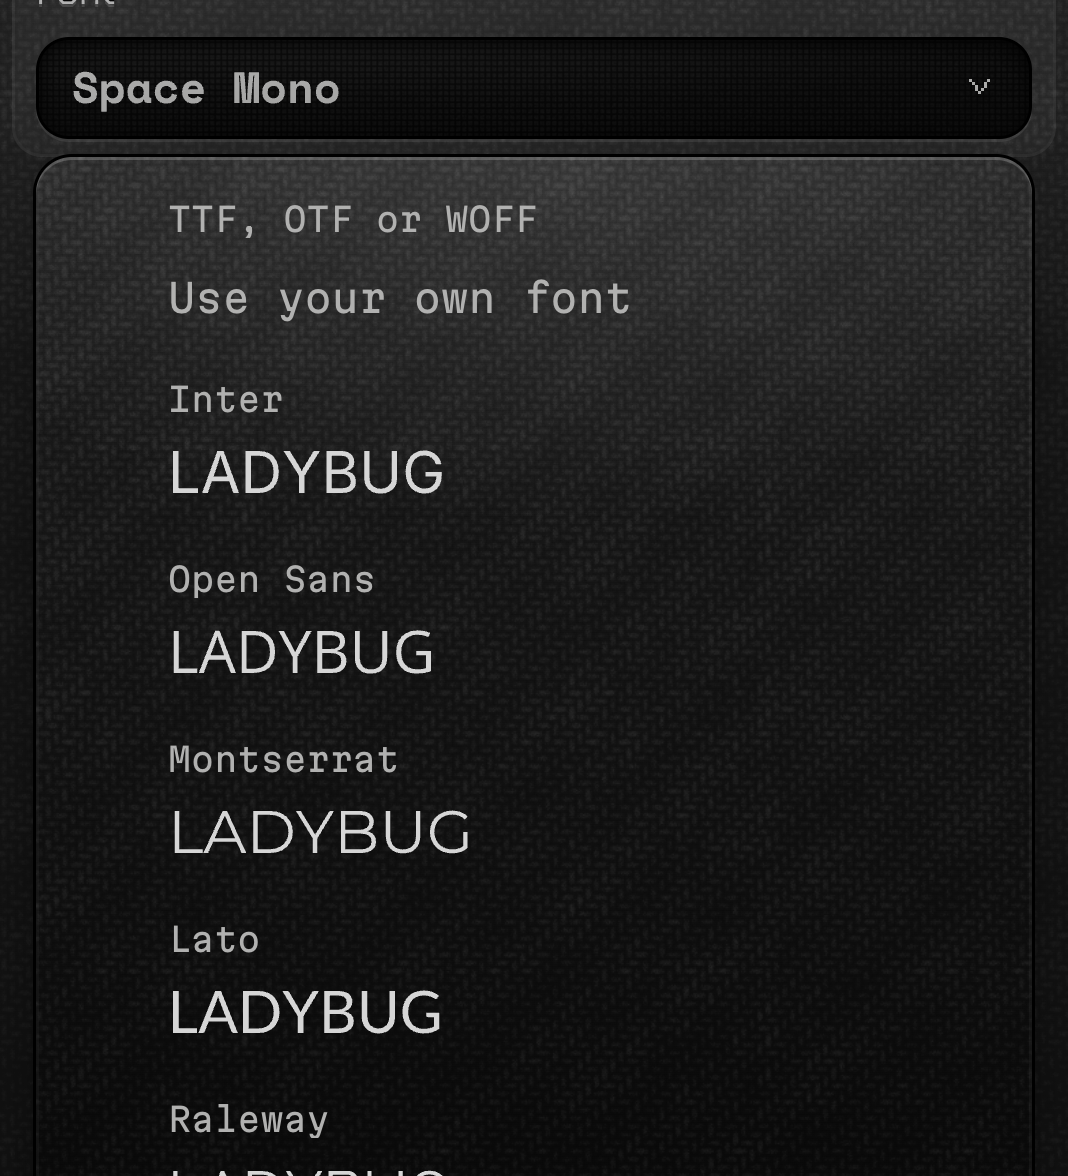
Bringing your own font file is now part of Ladybug Pro. A font you already used in a project keeps drawing on every plan. With Pro, any TTF, OTF or WOFF file works in every project and every session.
- 01Select a text layer and open its Font list.
- 02Choose Use your own font at the top.
- 03With Pro, pick a TTF, OTF or WOFF file.
Point Clouds and Sound Sculpt are Pro
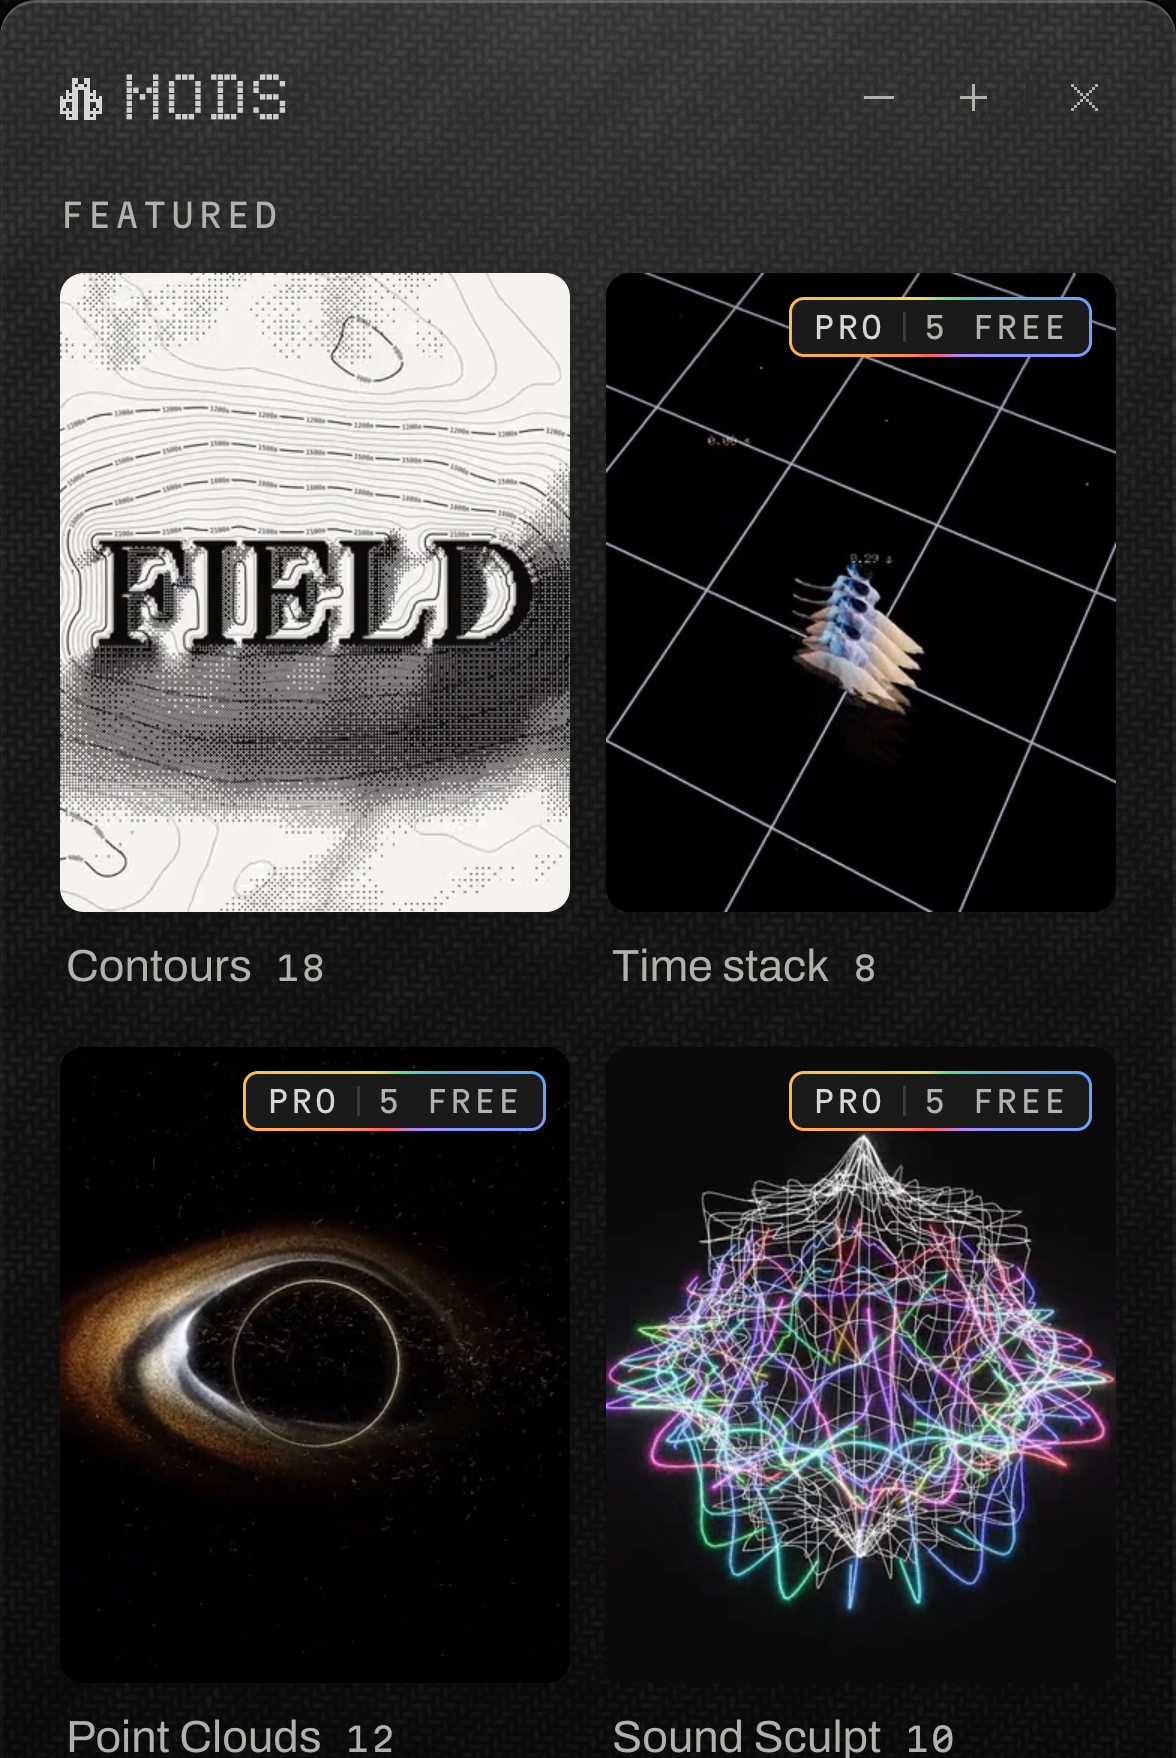
Point Clouds and Sound Sculpt are now Pro Mods, and four Contours looks are Pro too: Ember Crater, High Water, Groove and Abyss. You can still use them all on the canvas. Exporting them takes Pro, or one of your free Pro exports.
- 01Open Mods in the left rail.
- 02Point Clouds and Sound Sculpt carry the Pro chip, with your free Pro exports beside it.
- 03Export as usual: with Pro, or with one of your free Pro exports.
Ficou Brabo, the new sound sample
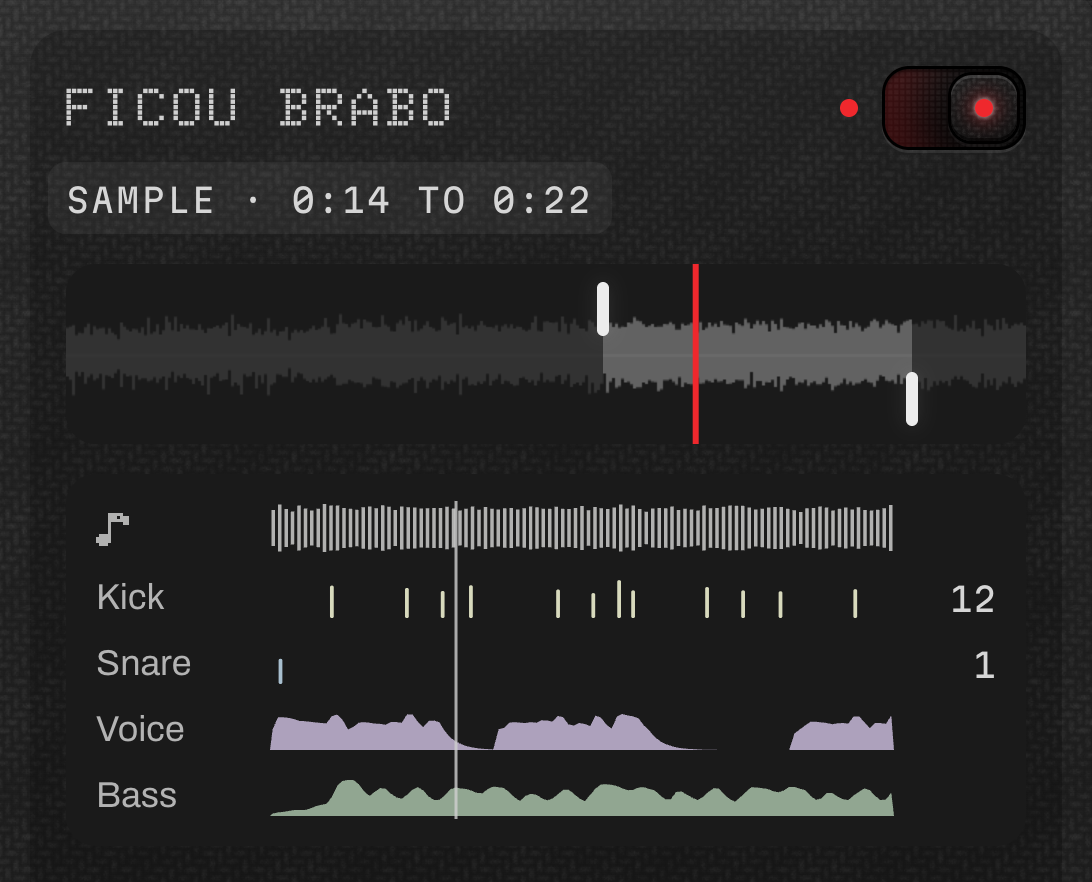
The sound sample is now Ficou Brabo, a track by alanayoubi, in the music area and in every Mod. It opens right at the drop, so the first thing you hear already moves.
- 01Select a layer and open Sound in the right-hand rail.
- 02Press Use the sample.
- 03Press play and watch the look follow the beat.
Open a project by dropping it
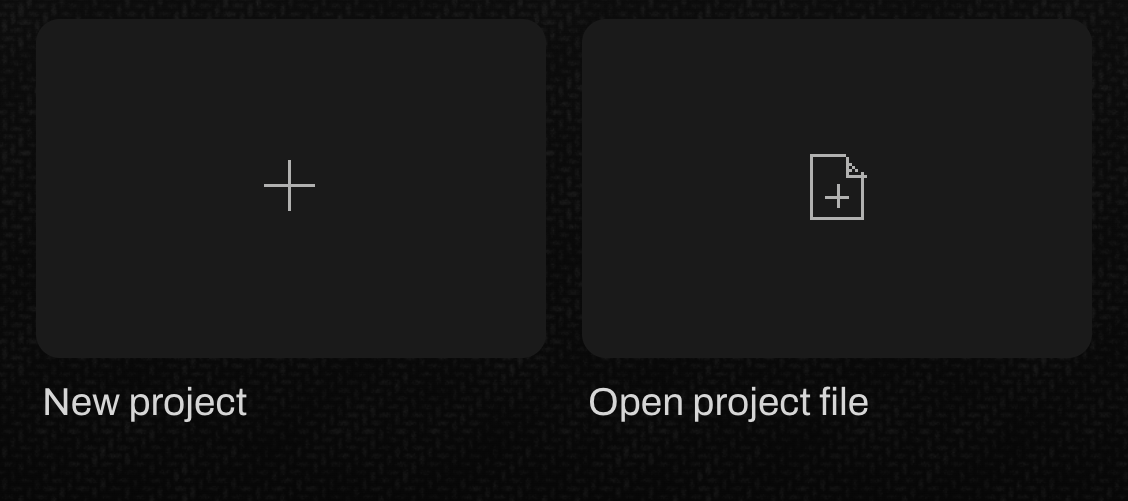
Drop a .ladybug file on the canvas and it opens as a project. Open project file now sits right beside New project, so a saved project is always one click away.
- 01Drag a .ladybug file onto the canvas.
- 02Or press New, choose All projects, then Open project file beside New project.
Sharper video exports
MP4 exports now keep the quality you see on the canvas, with fine detail and clean edges. Large 4K exports no longer come out as a flat green frame.
- 01Open Export.
- 02Pick Video MP4 and a size up to 4K.
- 03Export as usual.
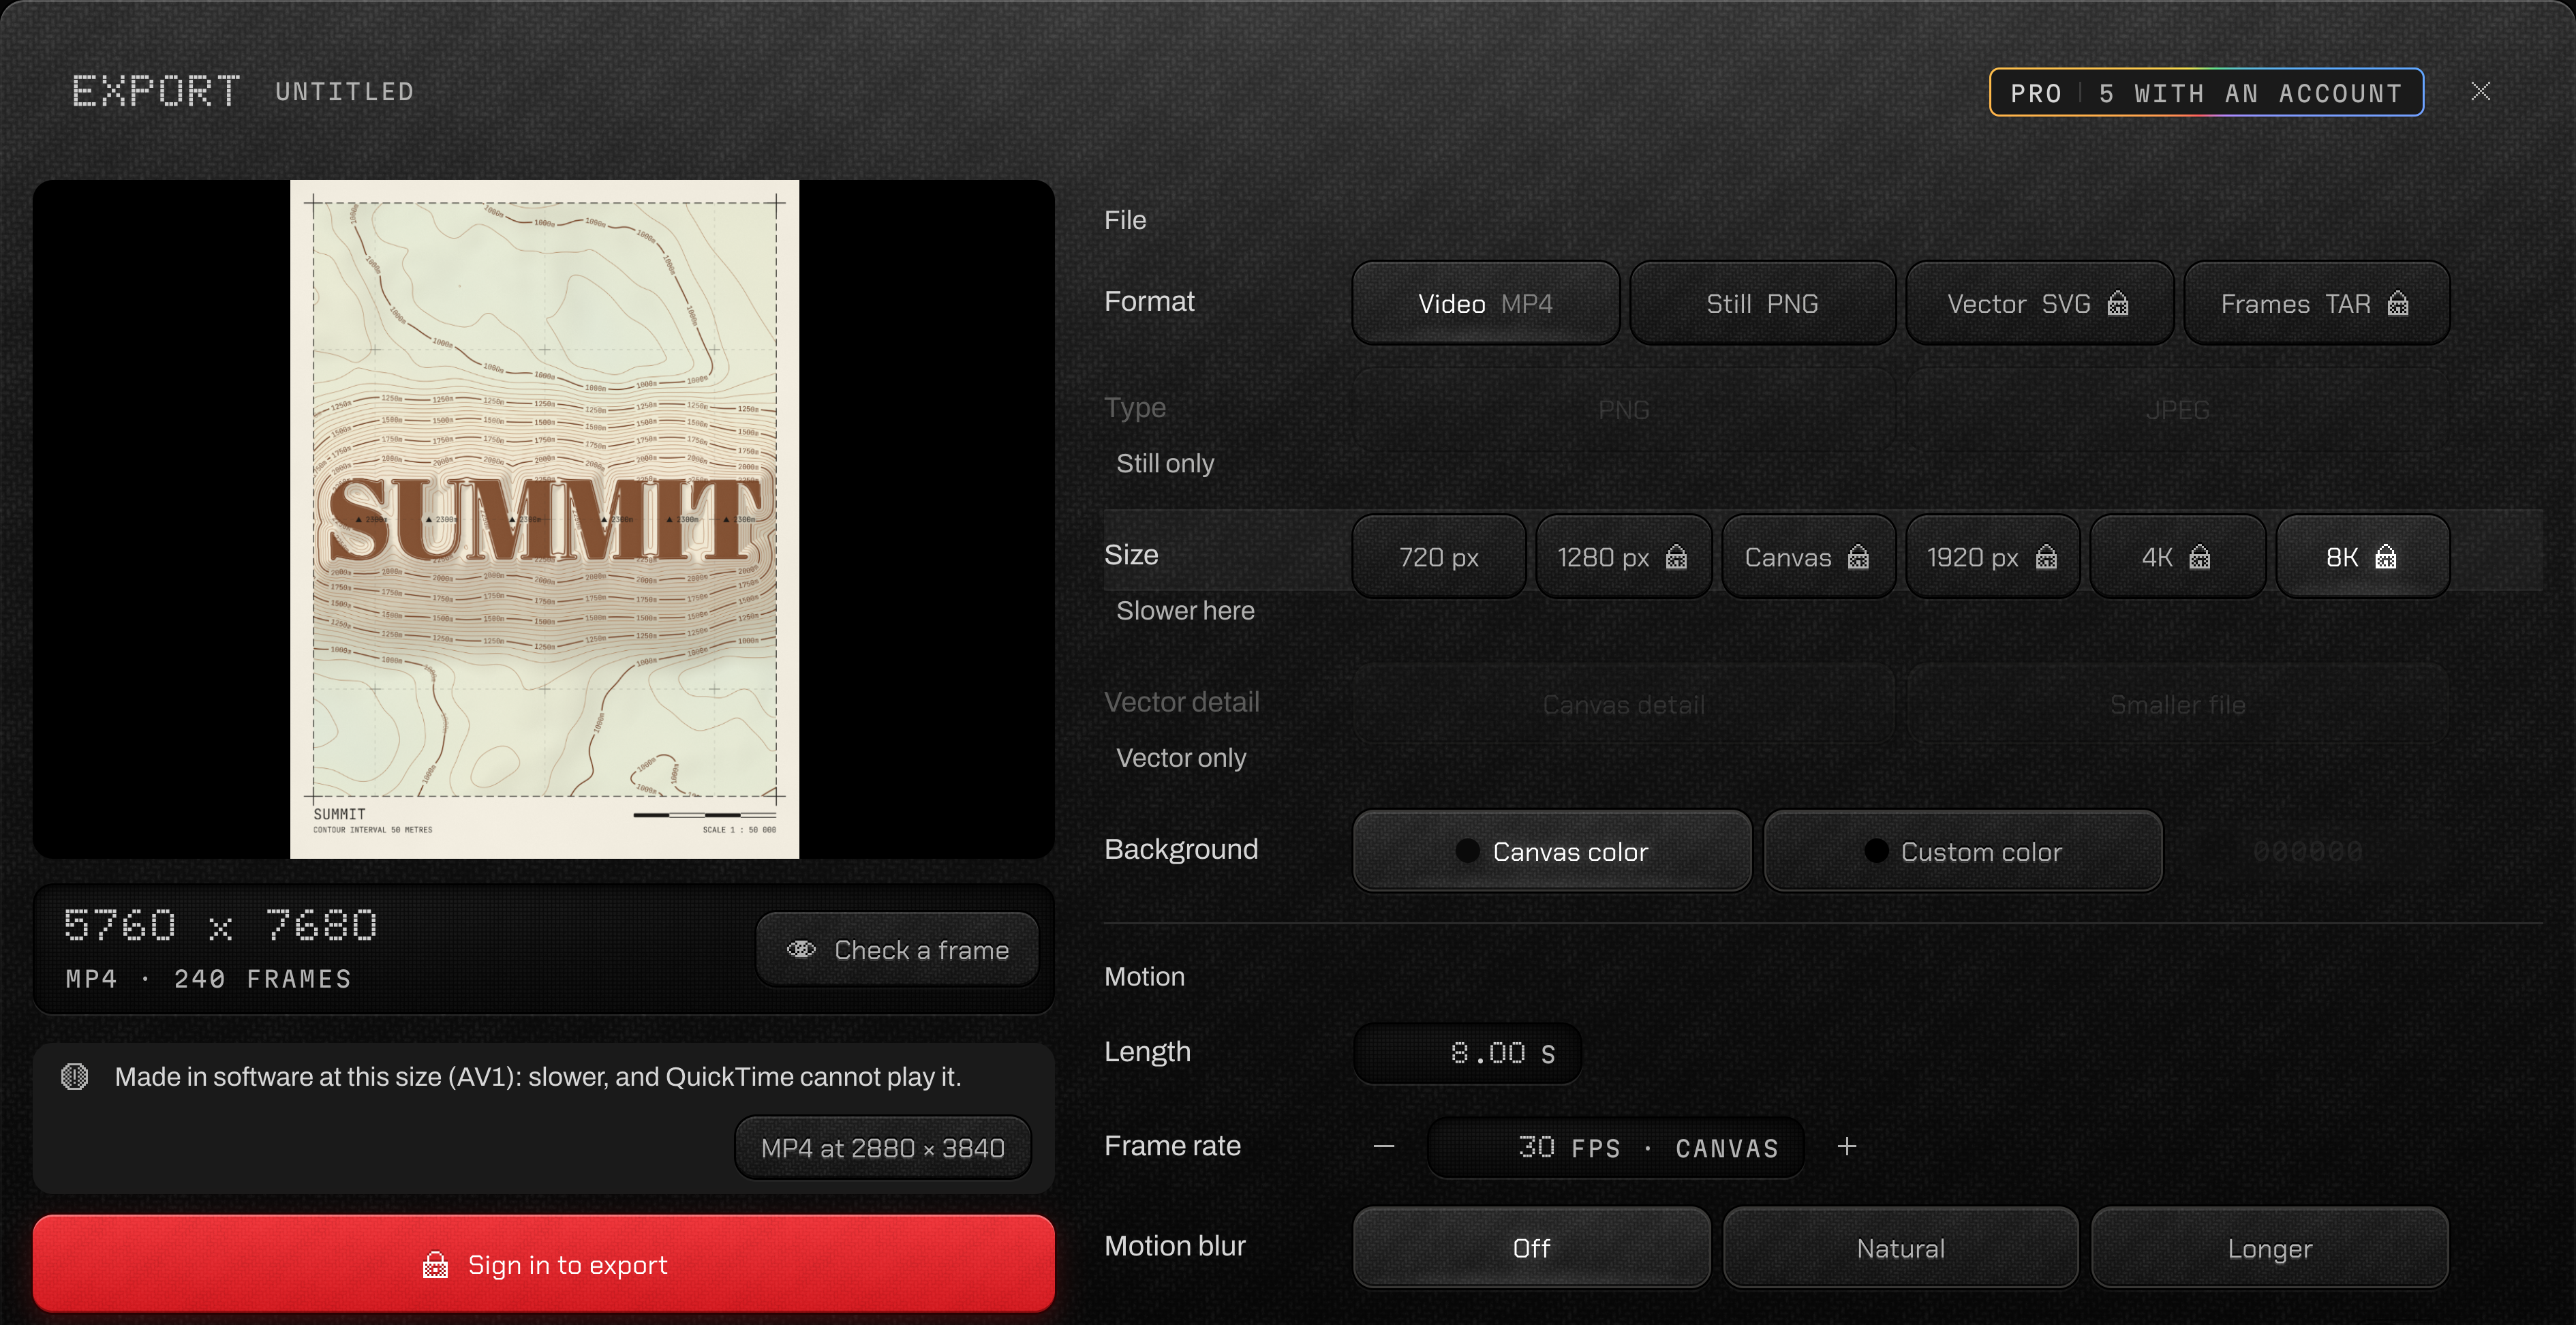
Export knows what your computer can make
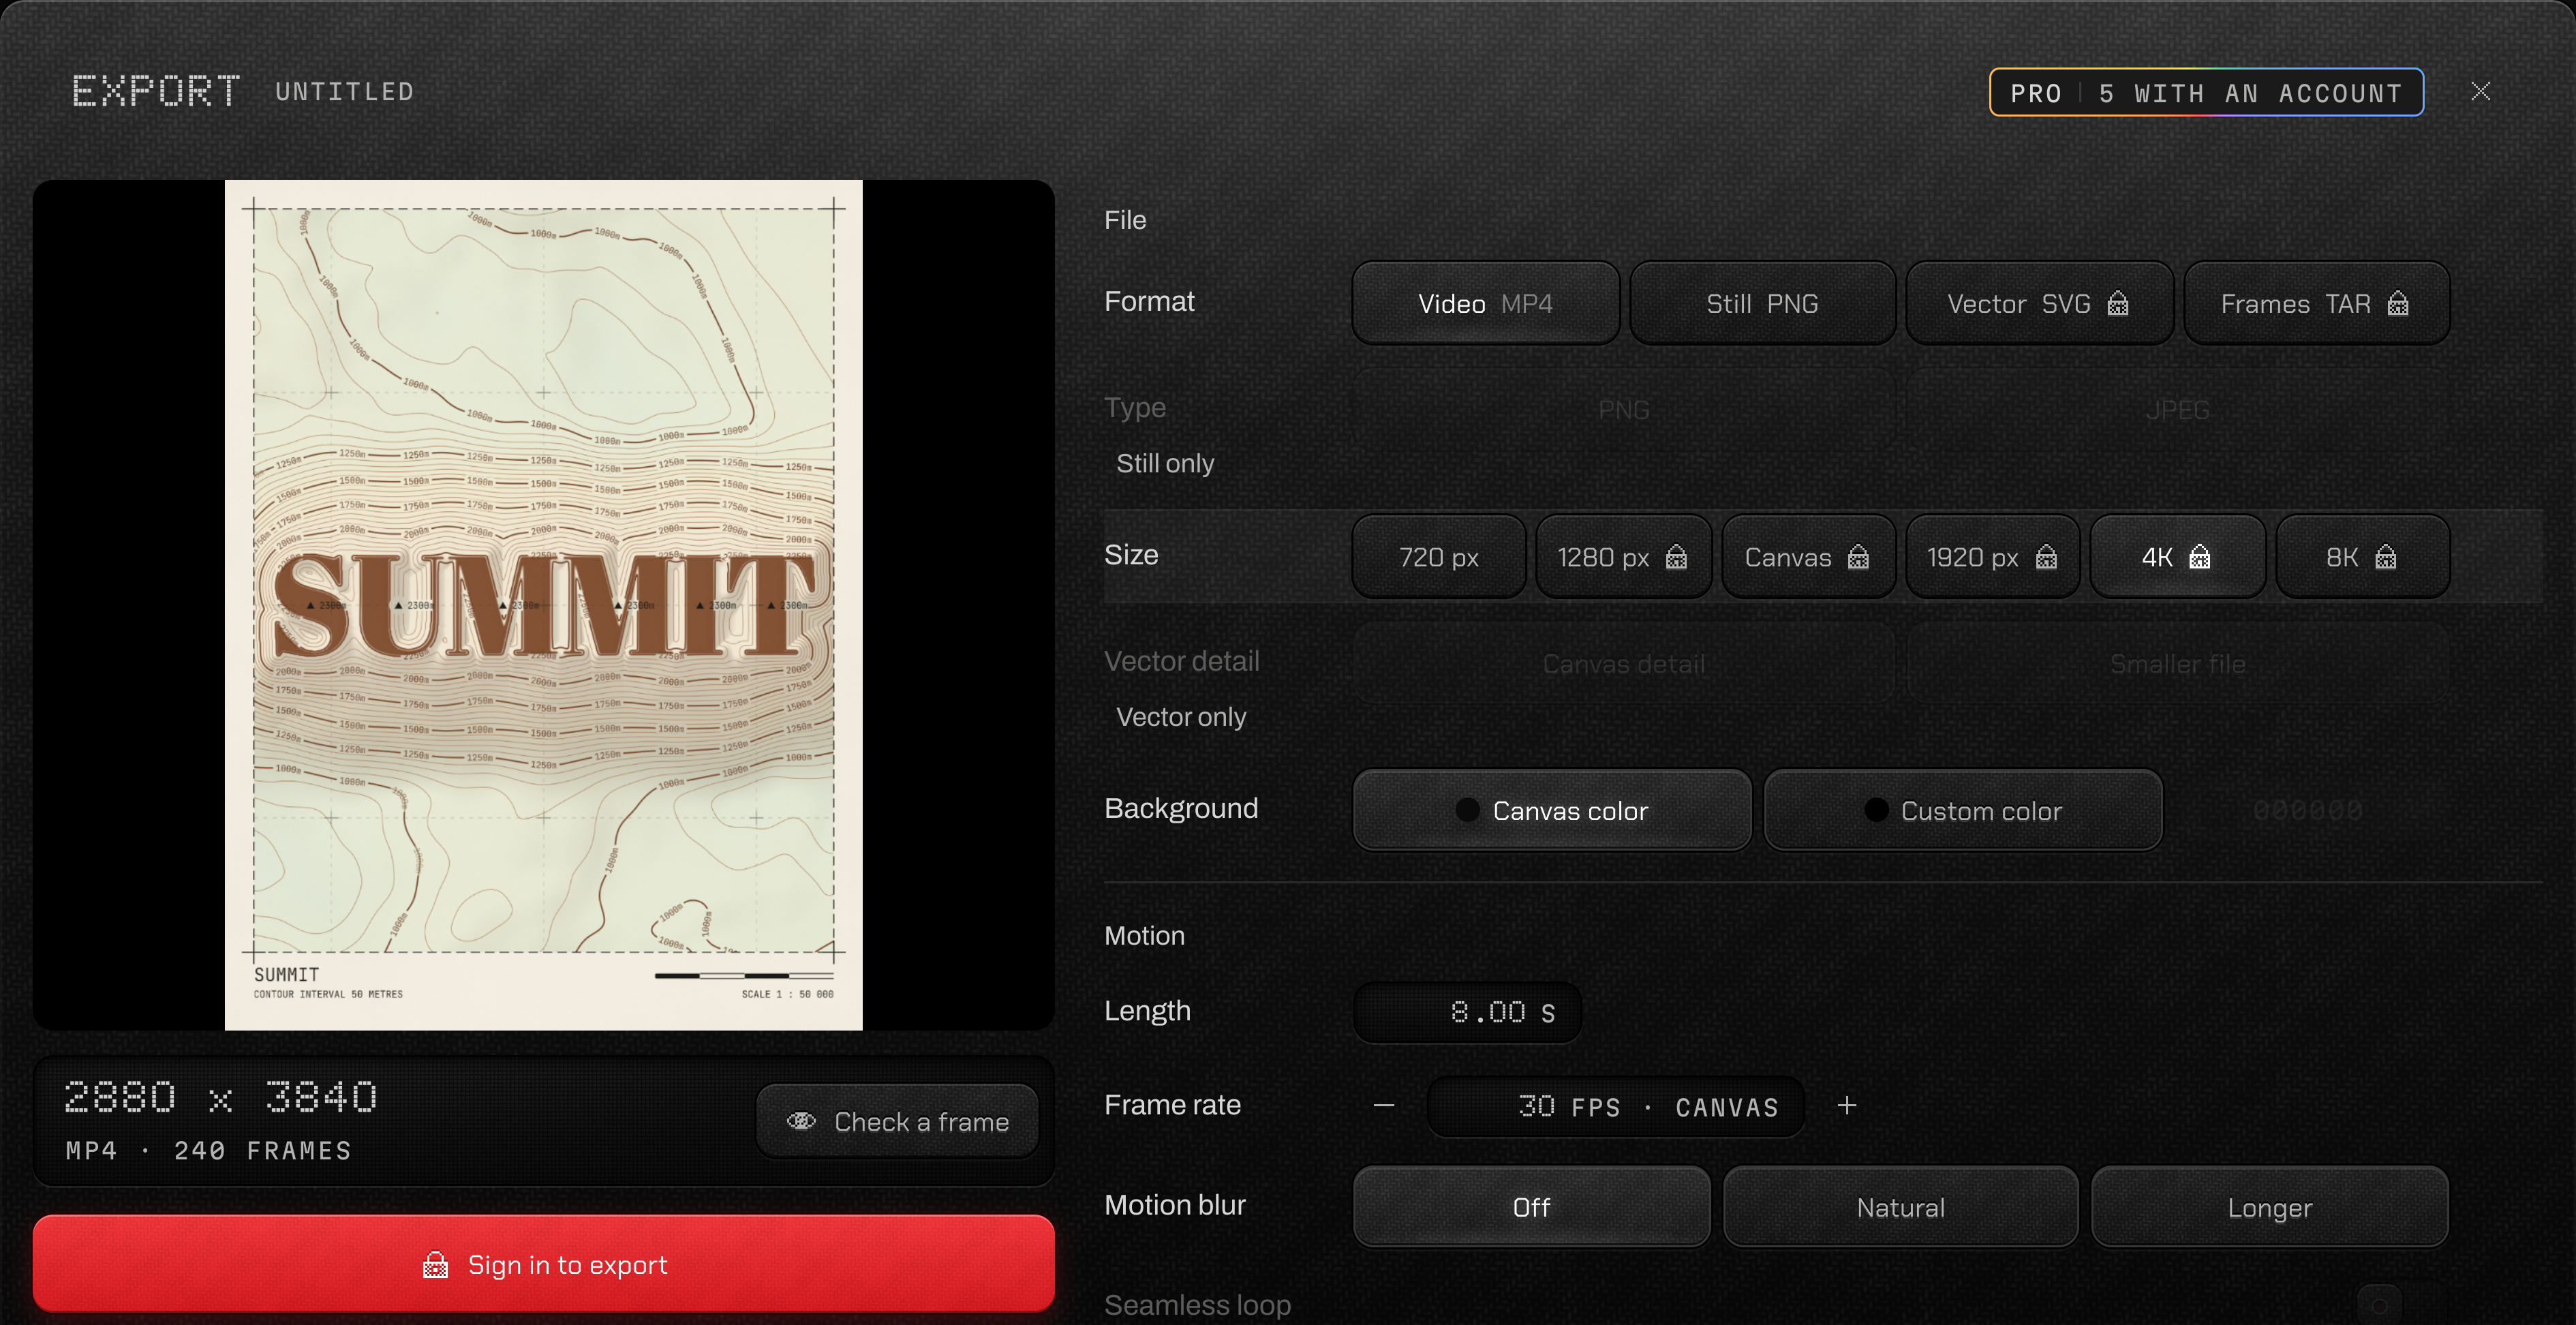
Before you press Export, the sheet now tells you how this computer will make each MP4 size. A size it can only make the slow way says Slower here, and one its video encoder can't make at all says Too big, with the largest MP4 it can make or a PNG sequence offered instead.
- 01Open Export and pick Video MP4.
- 02Choose a large size such as 8K.
- 03Slower here still exports, just slower; or take the MP4 size it suggests.
- 04Too big offers the largest MP4 this computer makes, or a PNG sequence.
No black frame between cut clips
When you cut a clip and slide the pieces back together, they now meet exactly. The black flash where two clips touched is gone.
- 01Cut a clip on the timeline with the scissors key.
- 02Move one piece away and back until it snaps to its neighbour.
- 03Play across the join.

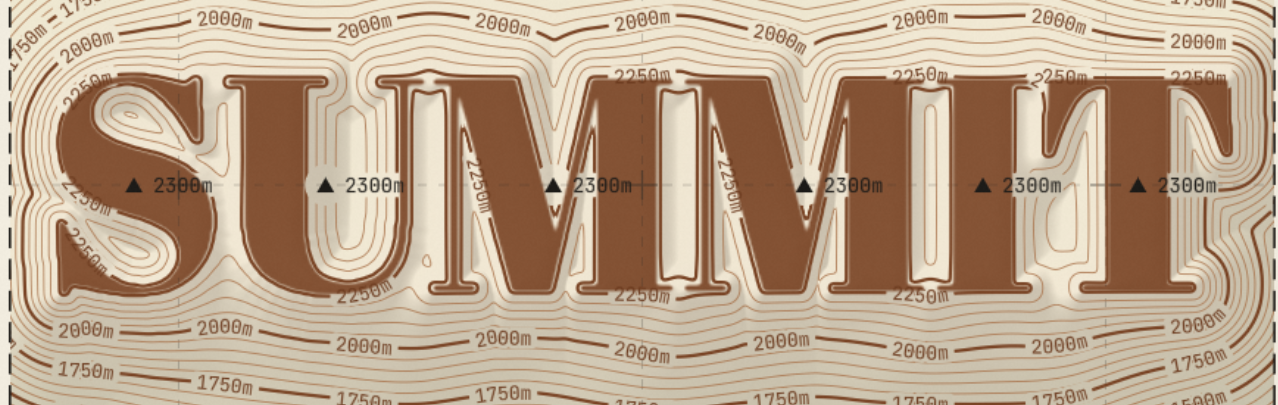
Contours letters come out sharp
The letters in Contours now have crisp edges, on the canvas and in exports at every size. The looks that fill their letters, like Survey Sheet and Riso Print, show it most.
- 01Open Mods in the left rail and choose Contours.
- 02Pick Survey Sheet in Looks.
- 03Export at twice the canvas size and look at the letter edges.
Move clips between rows
Drag a clip up or down to another row, or between rows to give it a row of its own. Drop it over another clip and it takes that place, like in Premiere. Hold Cmd (Ctrl on Windows) to insert it instead, and the clips after it move along to make room.
- 01Press on a clip in the timeline and drag it up or down.
- 02A line shows the row it will land on.
- 03Hold Cmd while you drop to insert it rather than replace.

In and out points
Press I and O to mark where a part of your timeline starts and ends, or drag the brackets in the ruler. Export renders just that part, and Play loops it while Loop is on. You can also drag the end of the timeline in the ruler to make it shorter or longer.
- 01Move the playhead to where the part starts and press I.
- 02Move to where it ends and press O.
- 03Open Export to render that range, or press Option X to clear it.

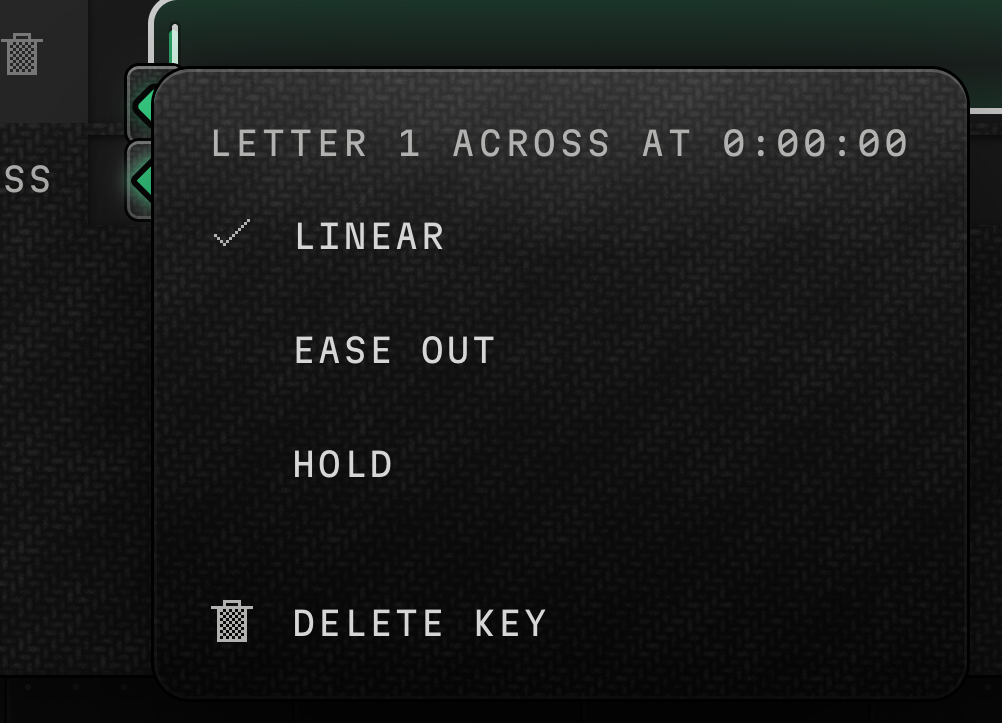
Keys start out linear
New keys are linear, camera keys included, so a move runs at an even pace until you choose an ease. Right click a key to give it Ease in, Ease out or Hold, each describing how the motion arrives at or leaves that key. Keys at the very start or end of a lane are now easy to box select.
- 01Key a dial at two different times.
- 02Right click a key to choose its ease.
- 03To select keys at a lane's end, start the box just outside the lane.
Finer number dragging
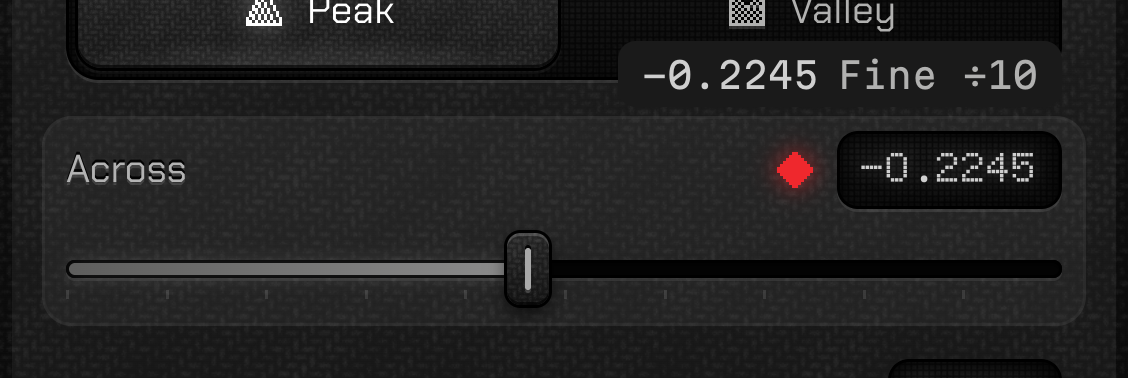
Hold Cmd or Option (Ctrl on Windows) while you drag a number and it moves at a tenth of the speed, on finer decimals where the value allows. Hold Shift to go ten times faster. The arrow keys follow the same rule.
- 01Press on a number and drag sideways.
- 02Hold Cmd or Option for fine steps, or Shift for big ones.
Keyframes in the Mods
Many more of the Mods' dials take keyframes now. A Contours letter can travel, with keys on its place, height and size, and so can the map's view. Point Clouds sources, Track's mask size, offset, feather and soft edge, and a Sound Sculpt picture's dials take keys too.
- 01Open a Mod's dials, for example a Contours letter under Nodes.
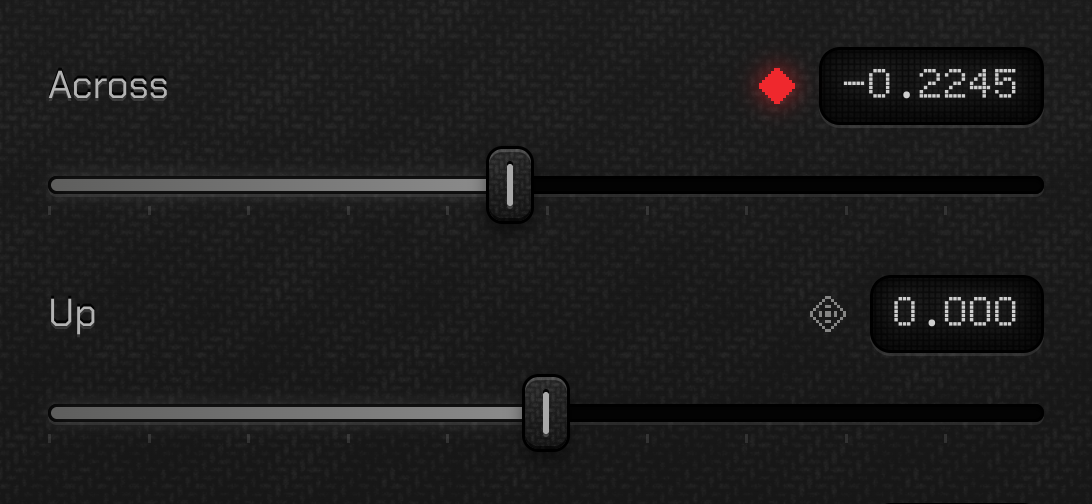
- 02Press the diamond beside Across to key it at the playhead.
- 03Move the playhead and change the value, and a new key lands there.