
Faster video export, effects on 3D Marks
Video export was the slowest part of Studio V2, so it got the most work. In our tests on a Mac in Chrome, a six second 1080p project with one video layer and no effects exported in 1.3 seconds. It took 5.7 before. The editor is quicker too. Sliders do less work while you drag, the Effects and Add panels open the moment they are ready, and preset thumbnails are drawn only for the cards you can see. What’s new itself is easier to see: it stays on screen until you close it, shows one new thing each time you open the studio, and offers Save and update when a new version is ready. Also fixed: a video layer restarts when the timeline loops. Safari opens project files that carry large media, such as saved sound stems. A reopened project keeps its soundtrack’s name. A touch drag that gets interrupted no longer joins your next edit in Undo.
Every effect draws its own marks in 3D
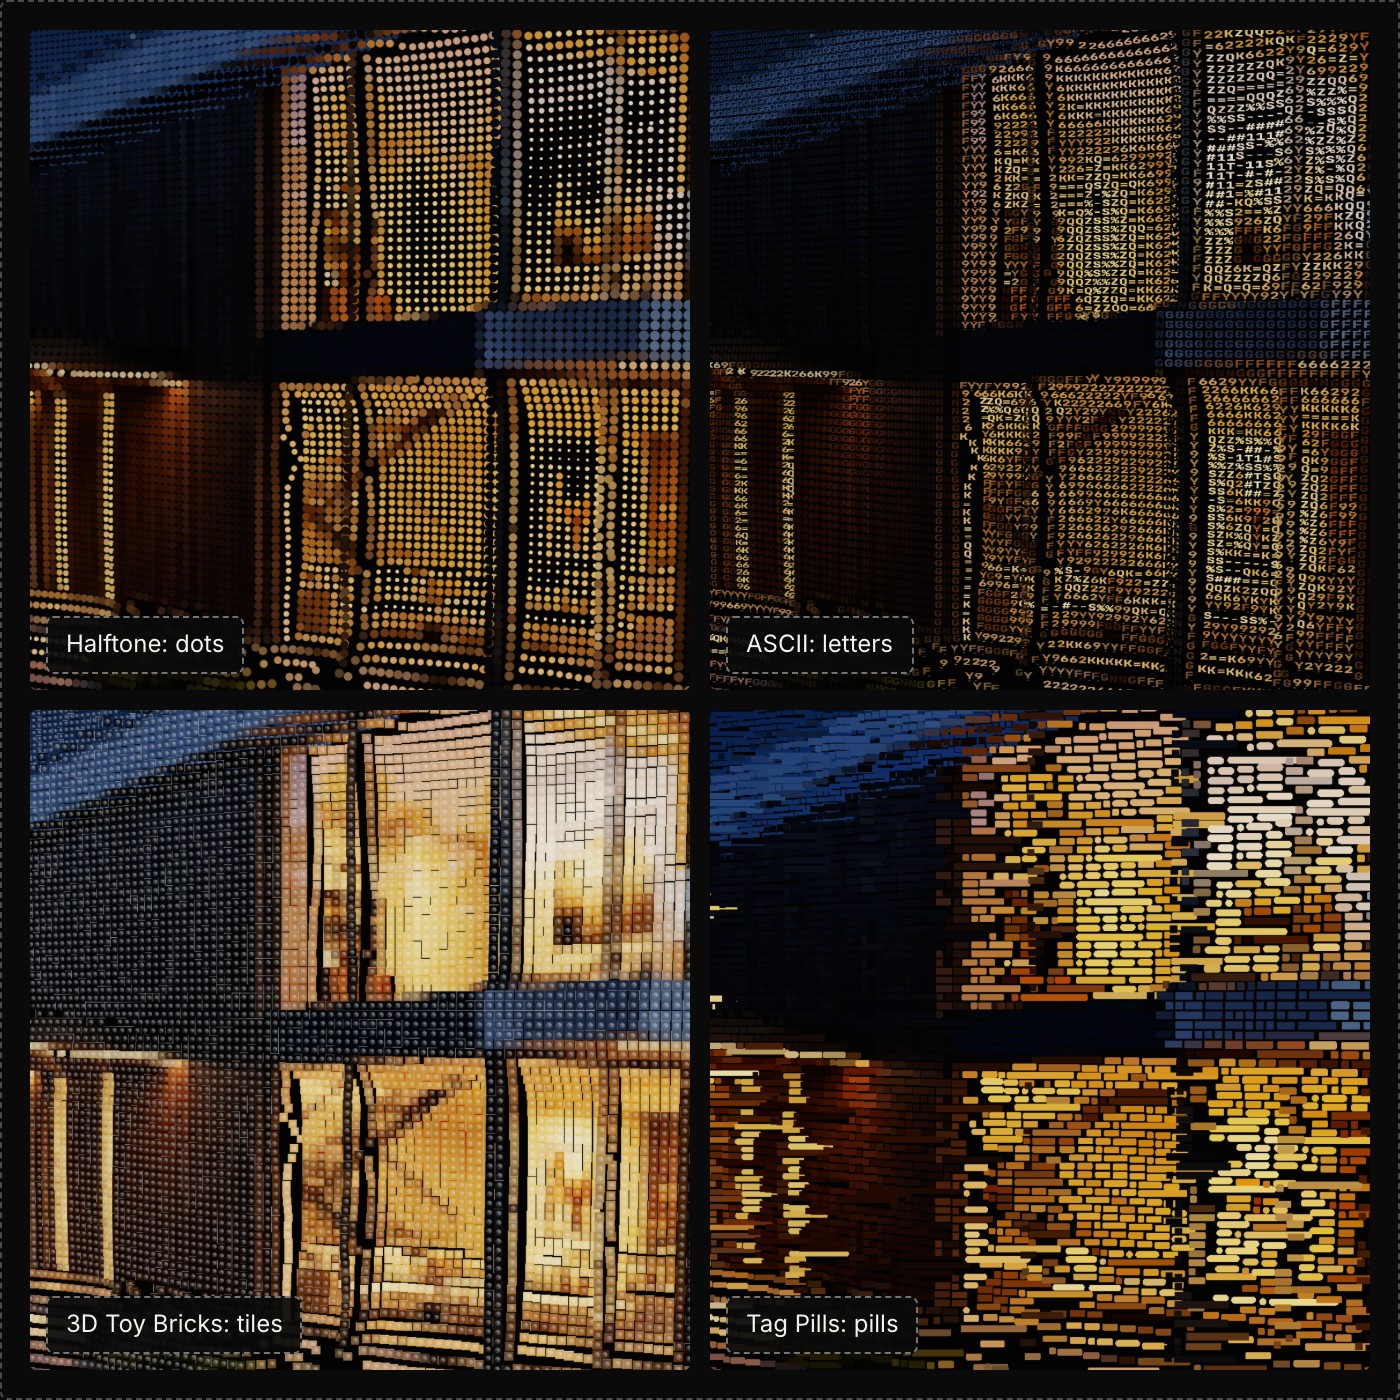
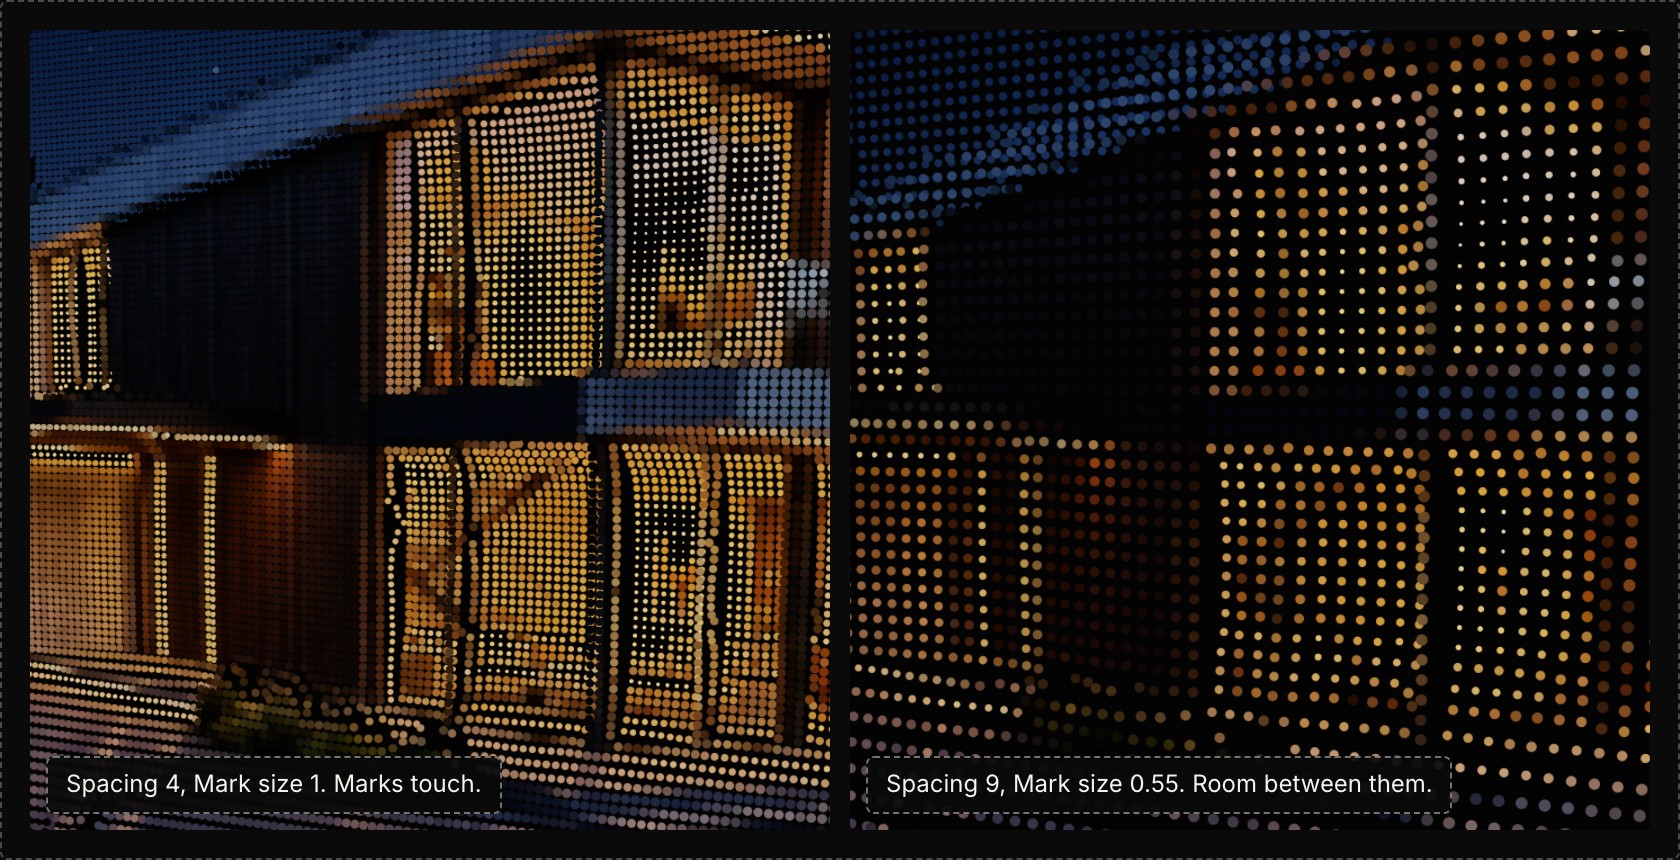
On a Make 3D object, every point now becomes one of the effect’s own marks: a Halftone dot, an ASCII letter, a brick, a pill. Turn a picture into a 3D object with Make 3D, add an effect, and that is what you get. Before, only ASCII worked this way. Other effects were painted across the points as one flat picture, which came out as blurred fragments. 52 effects now draw real marks, sharp at any zoom. Spacing gives the marks room, and Mark size sets how much of that room each one fills. Eight effects that work on the whole frame, such as VHS and CRT Screen, stay on Screen and Surface.
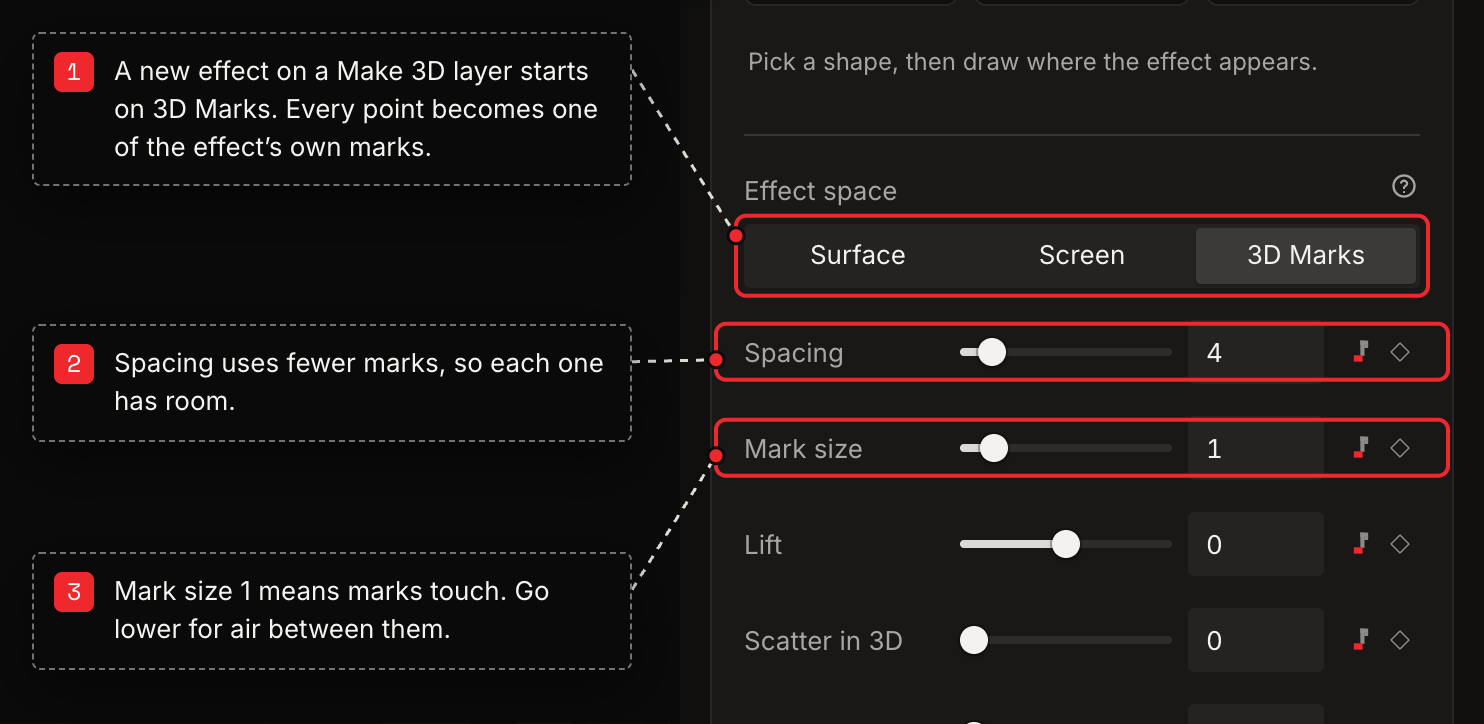
- 01Select a picture, open the Layer tab and open Make 3D. Choose a quality and press Make 3D.
- 02Open Effects and pick an effect. On a Make 3D layer it starts on 3D Marks.
- 03In the effect’s controls, find Effect space. Raise Spacing for fewer marks with more room.
- 04Set Mark size. 1 means marks touch. Go lower for air between them.
- 05Open 3D controls under the canvas to see how to turn the view, then look at the marks in depth.
Faster MP4 export
MP4 exports can be several times faster on plain video projects. Finished frames are handed to the encoder on the graphics card, and the videos in your project are read in order, not searched one frame at a time. On our test Mac a three second 4K vertical clip went from 10.5 seconds to 2. Ordinary videos come out the same, frame for frame. Variable frame rate and WebM videos that are 720 pixels high or more now export with the video’s own timing. Projects without video gain less. Saved Make 3D video already reads frames in order, so these projects may see little improvement. Videos under 720 pixels high also gain less because they keep the previous decoding path. How much you gain depends on your layers, effects, computer and browser.
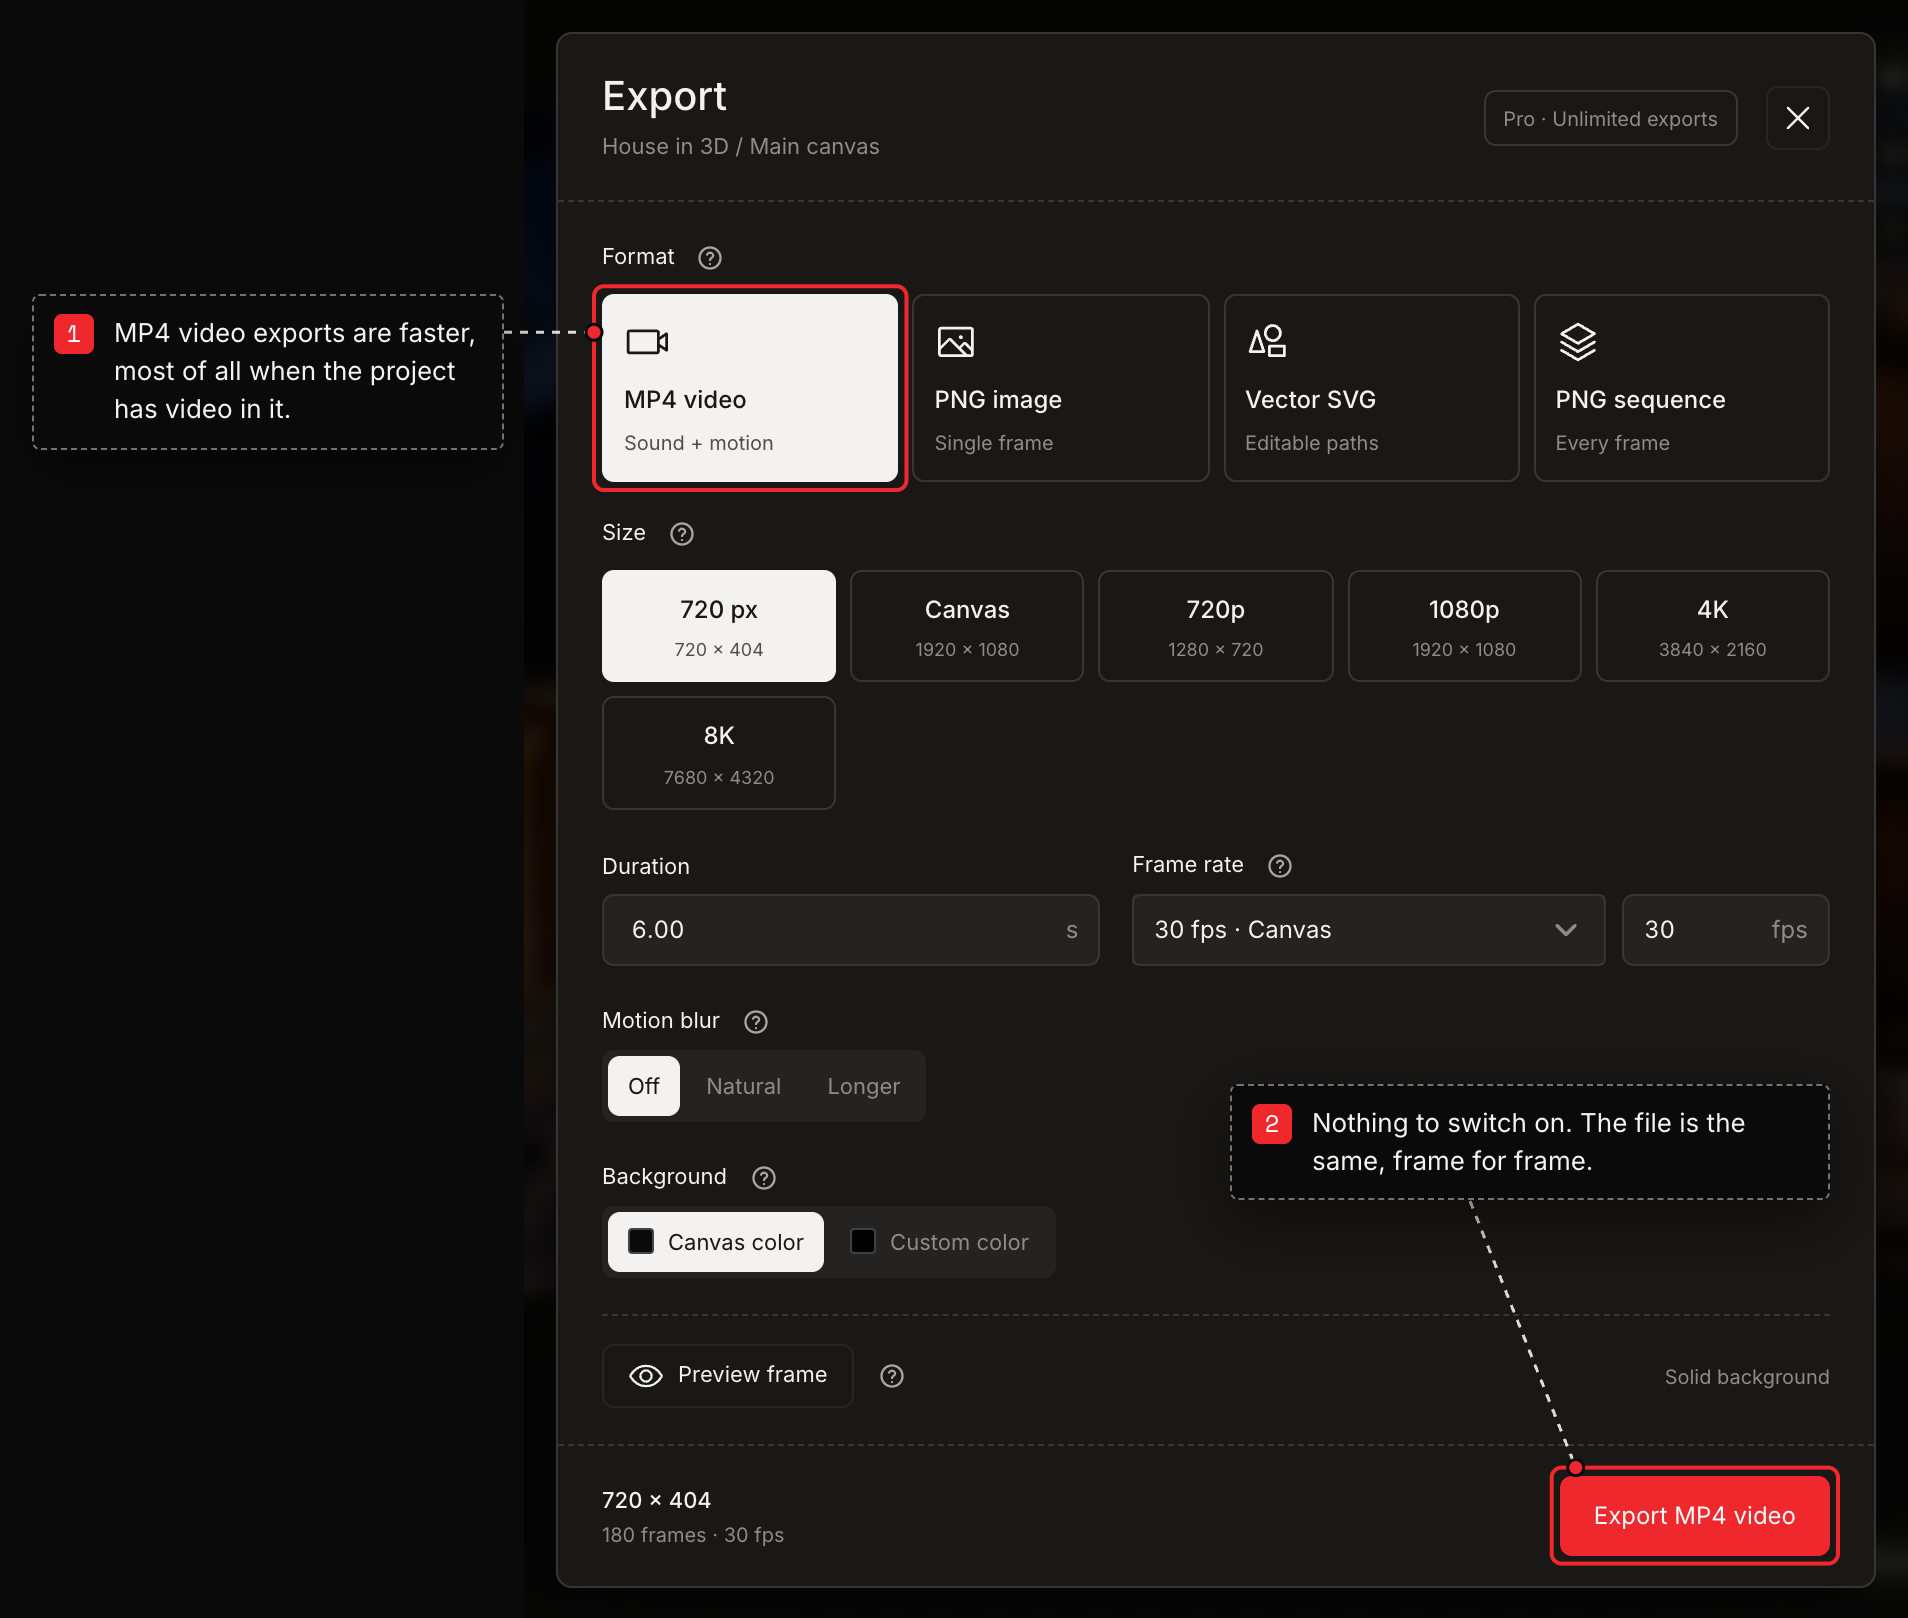
- 01Press Export and choose MP4 video.
- 02Pick a size, then press Export MP4 video.
- 03There is nothing to switch on. The export chooses its path automatically.
Familiar effect mixing controls
Studio V2 now uses V1’s compact effect mixing layout. Strength and Blend sit on one line. Appears in uses visual chips, with your chosen area first. Edge softness appears when you choose an area.
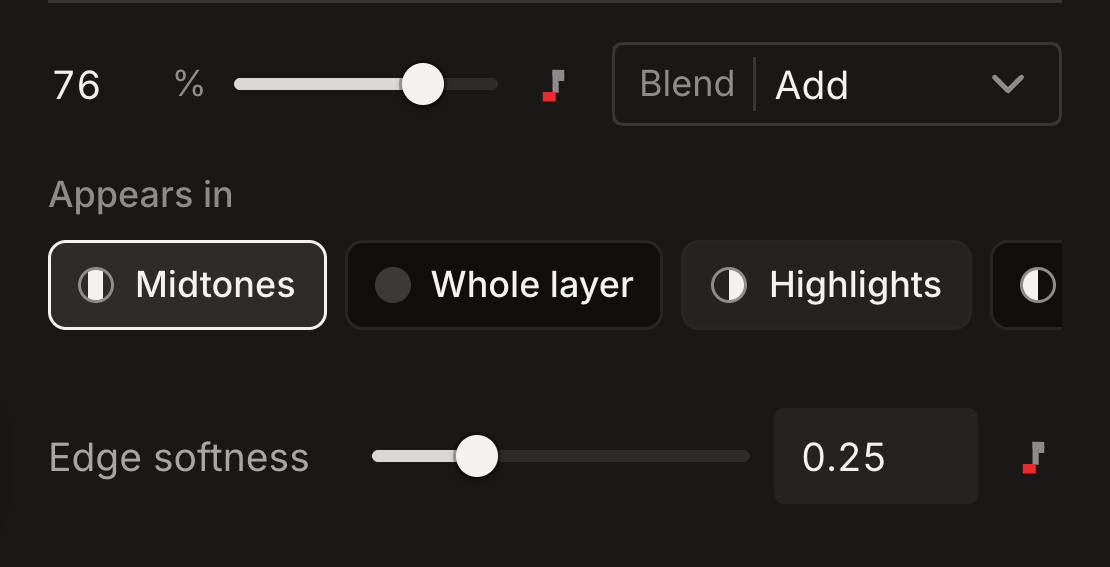
- 01Select a layer and open its Effect tab.
- 02Set the strength and choose a Blend mode on the same line.
- 03Choose an Appears in chip. Scroll the row for more areas, then adjust Edge softness.
Look controls within reach, clearer 3D shortcuts
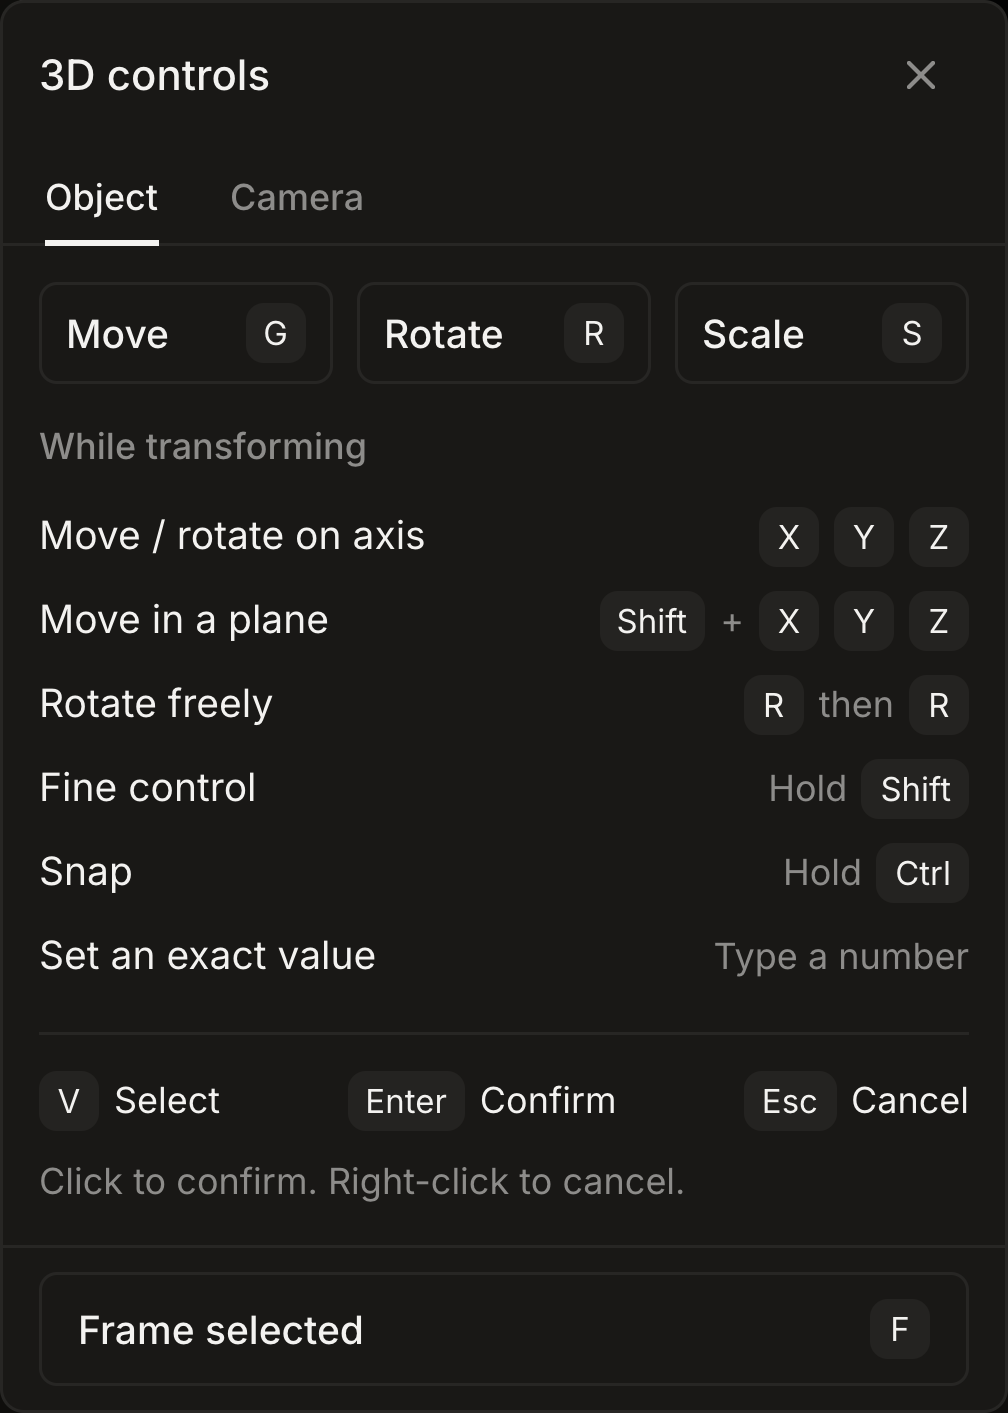
The Look section now stays directly below Mask, above the Pins and Controls tabs. Browse effects, choose a preset or press Surprise me from either tab. The 3D controls card is smaller, stays above the surrounding panels and fits inside your window.
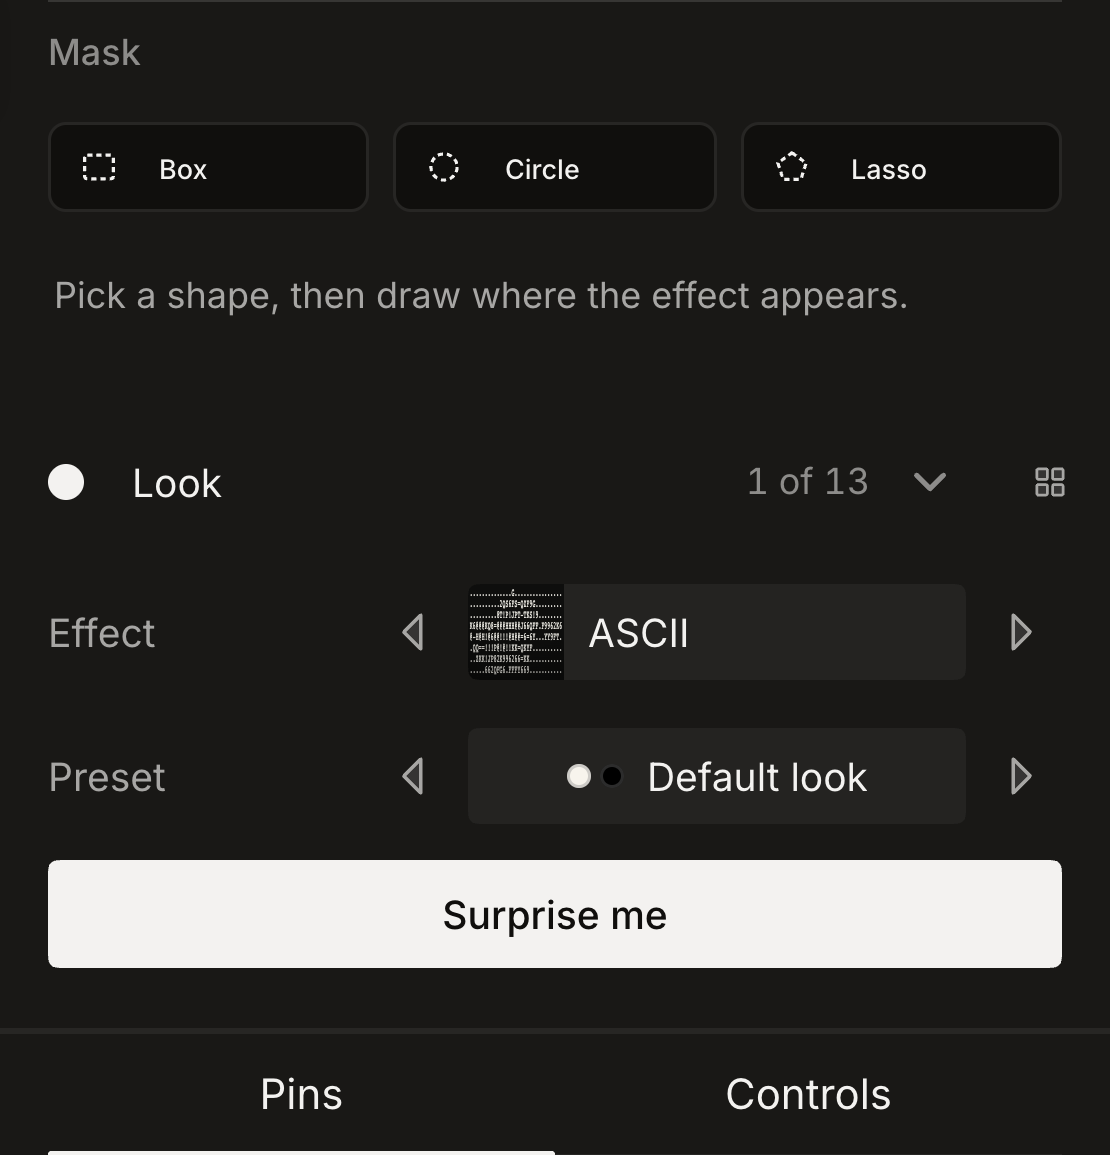
- 01Select an effect. Look is directly below Mask, above Pins and Controls.
- 02Use the arrows to browse effects or presets, or press Surprise me.
- 03Press 3D controls below the canvas. Choose Object or Camera, and press Escape or click outside to close.
One mask button, five drawing tools
Mask now has one compact tool button. Hold it to choose Box, Circle, Lasso, Pen or Brush. Pen shows crisp points and curve handles on the canvas, with a small toolbar for editing and finishing your path. Brush lets you paint several strokes into one mask. Saved masks use the familiar V1 chip strip, with Invert and Remove on the selected chip.
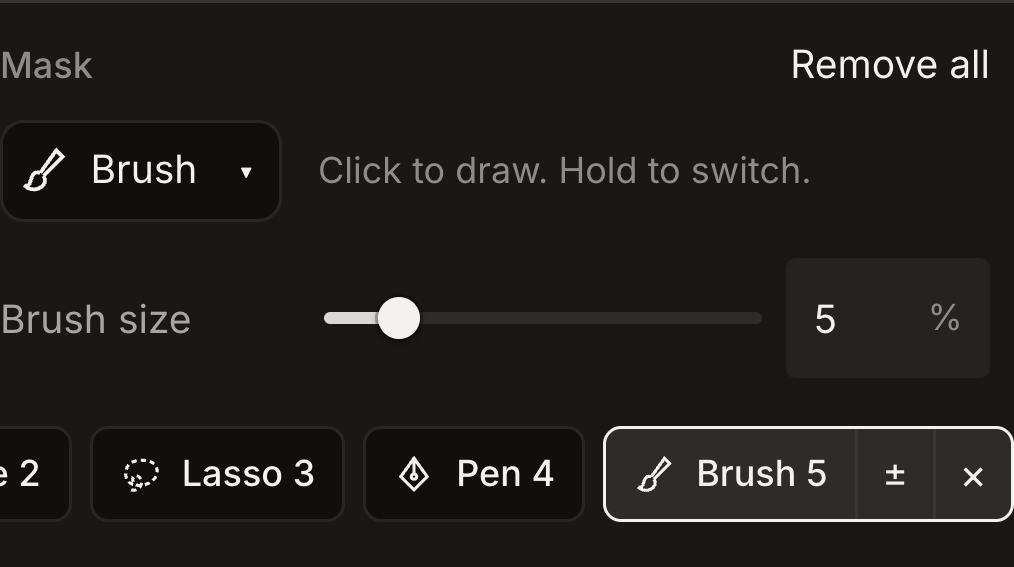
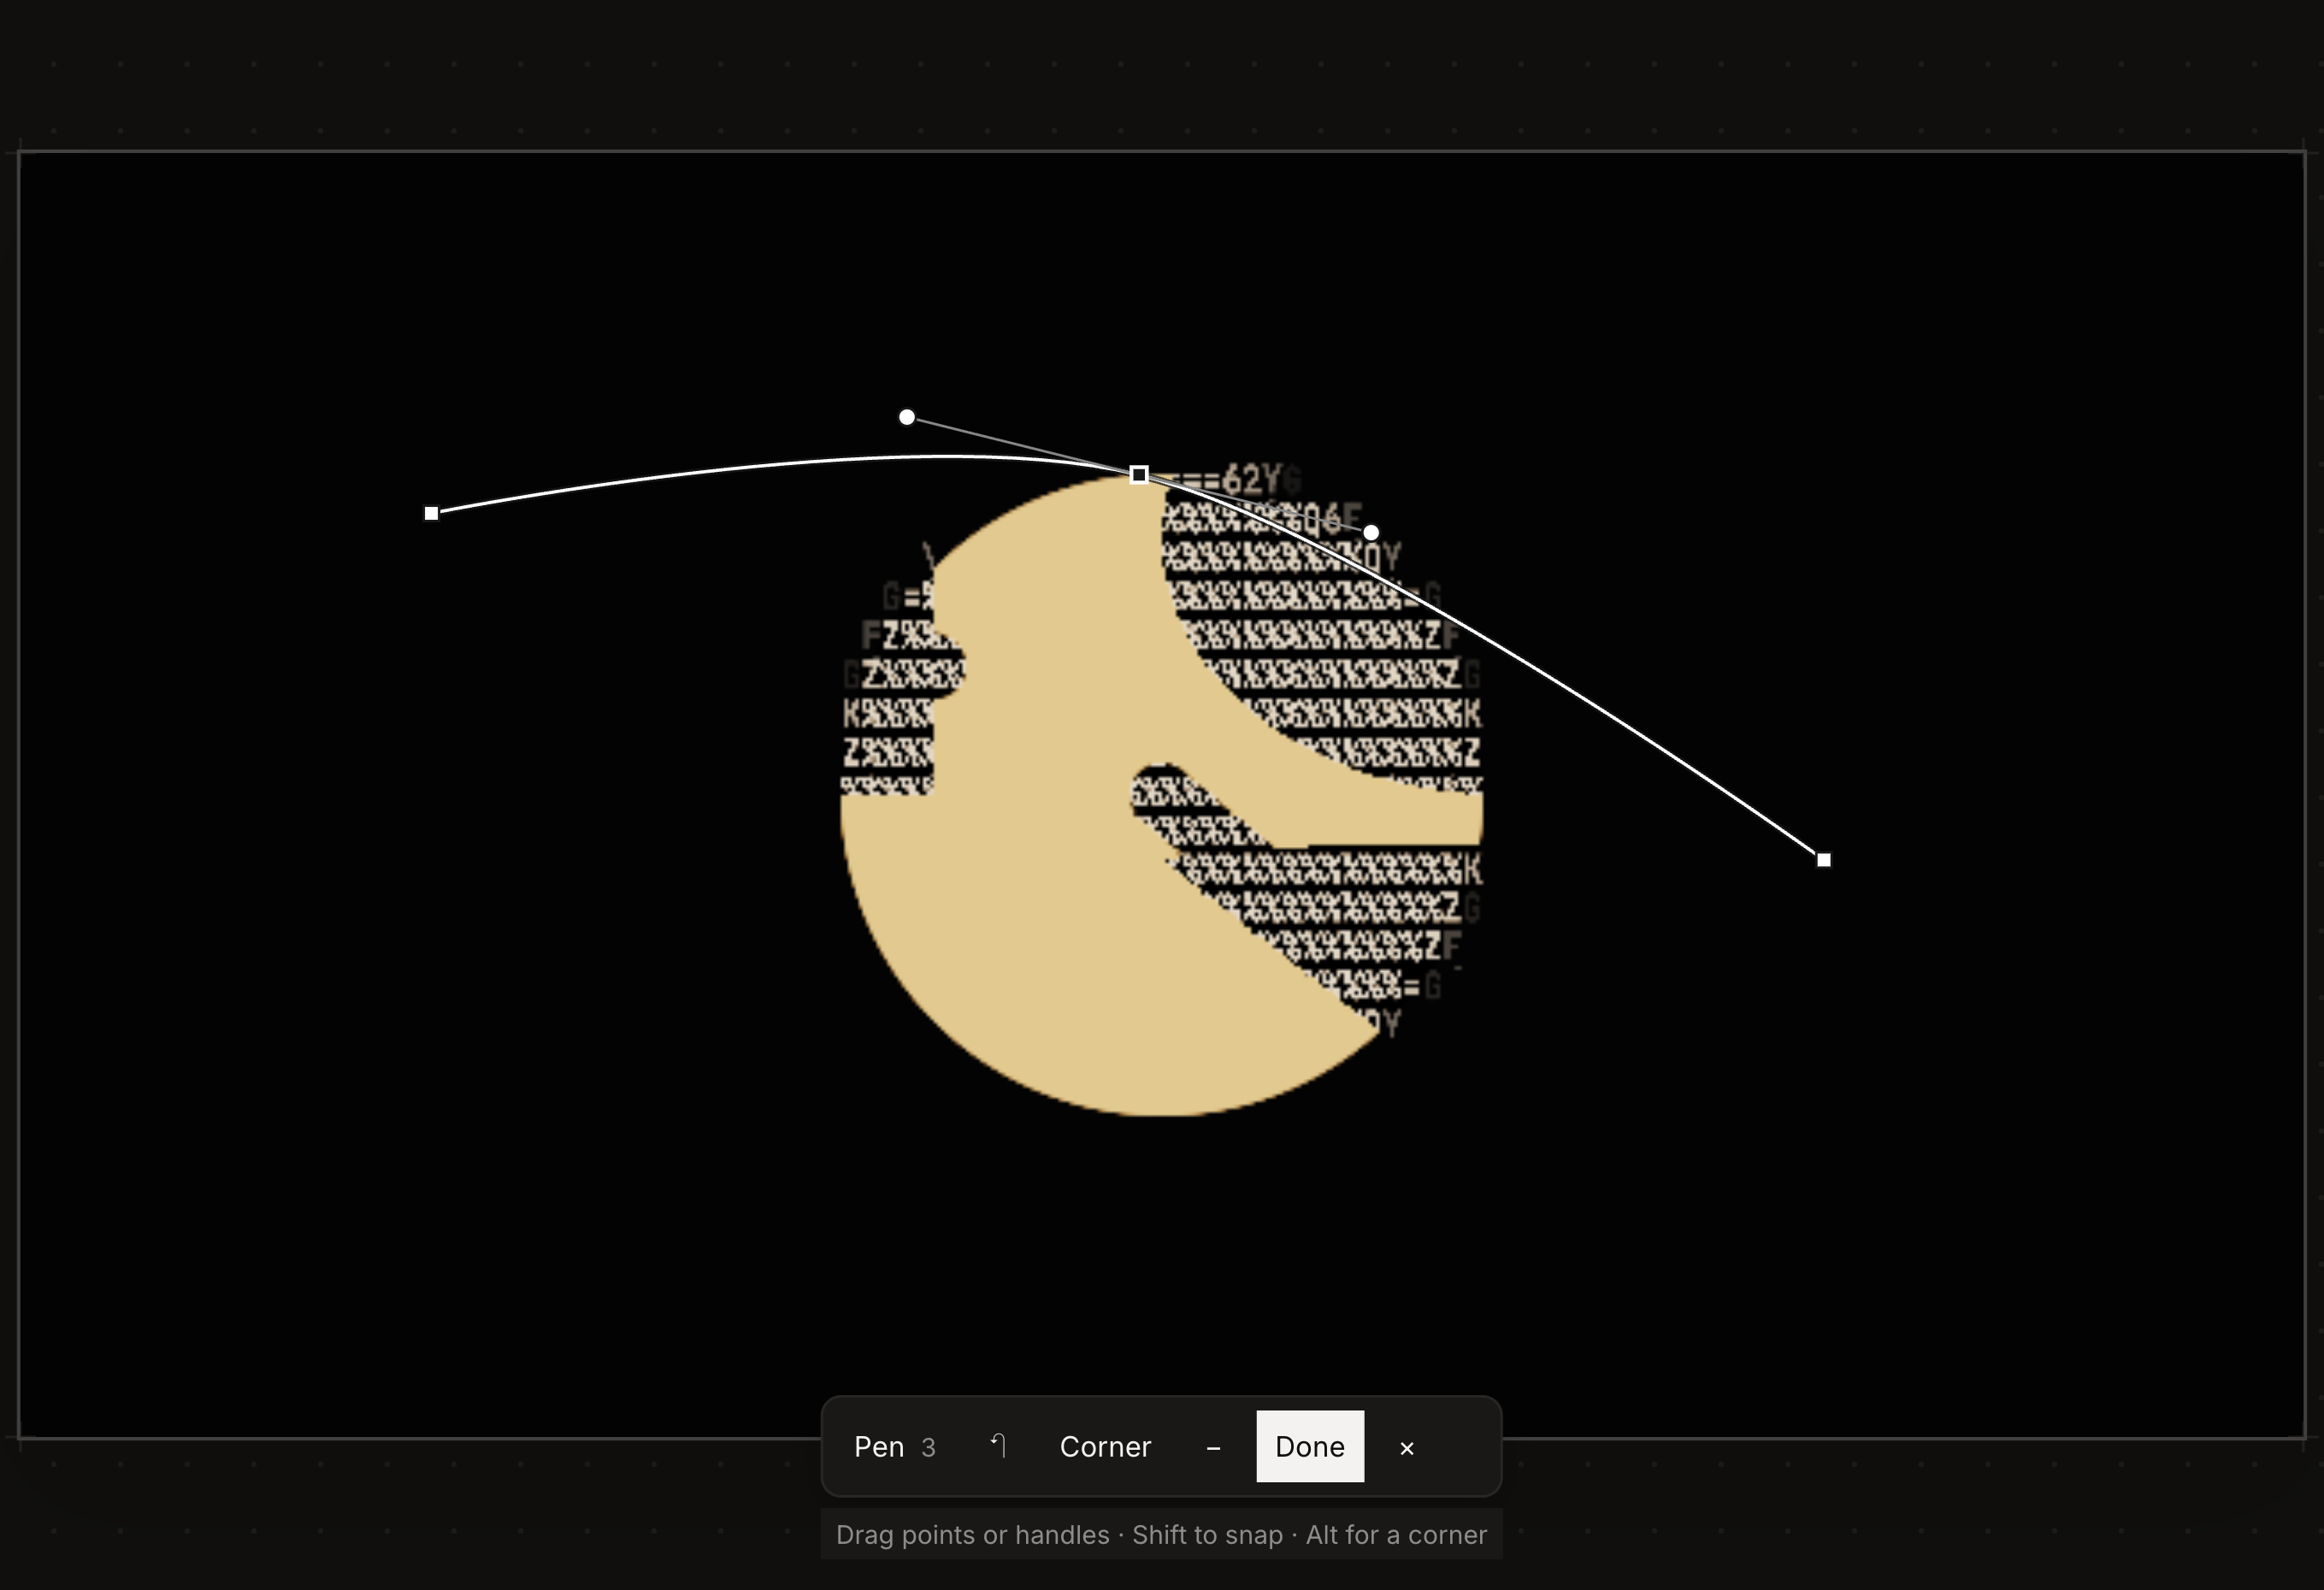
- 01Click the mask button to draw, or hold it to choose a different tool. The arrow also opens the tool list.
- 02With Pen, click for corners and drag for curves. Drag existing points or handles to adjust the path. Hold Alt to move one handle independently, or Shift to snap its angle.
- 03Use Corner or Curve to change the selected point. Click the first point or press Done to close and apply. Undo edits the unfinished path; Escape cancels.
- 04With Brush, set the size and paint as many strokes as you need, then press Done.
- 05Select a saved mask chip to invert or remove it. Scroll the row to reach more masks.
Stable layers while orbiting in 3D
Text and other flat layers could disappear at certain camera angles even while their artwork was visible inside the frame. Camera projection now keeps the visible part of each layer, with the same depth ordering in the preview, selection and export.
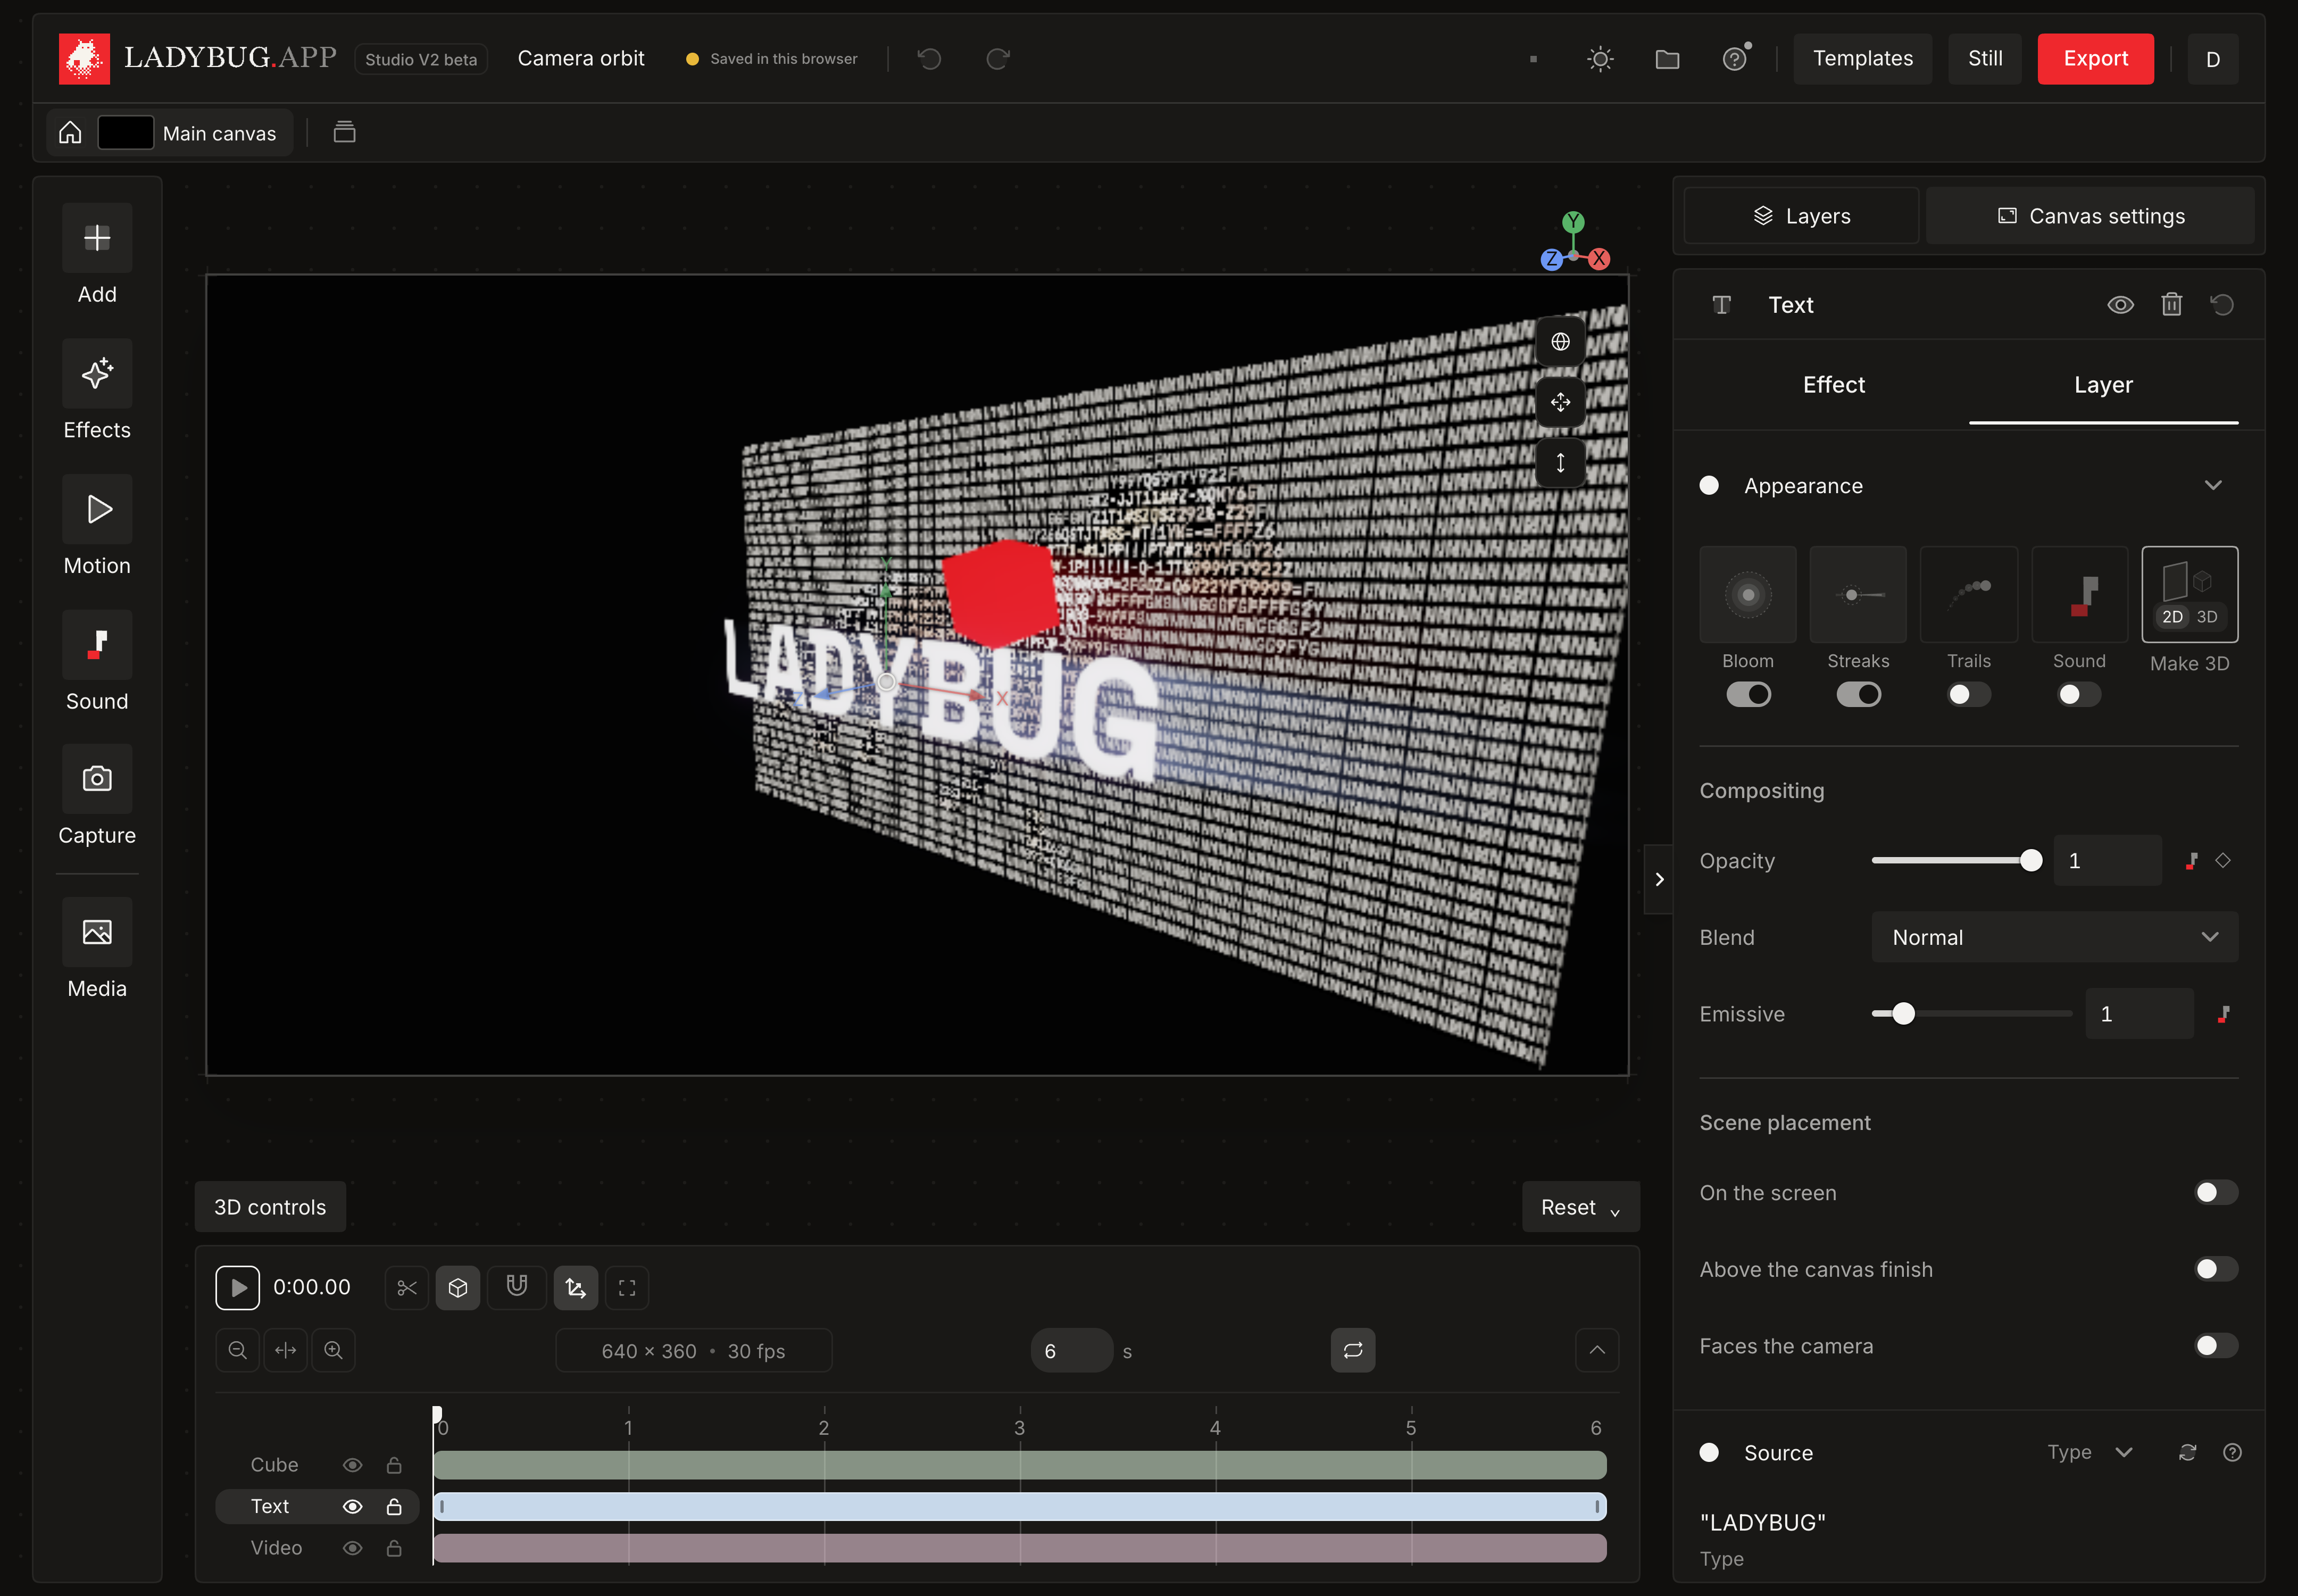
- 01Open a 3D scene with text, video or other layers.
- 02Drag Orbit camera to turn the view. Visible artwork stays in the frame as the angle changes.
- 03Export the scene using the same camera view.
Move clips and close a layer’s gap
Grab the body of a timeline clip to move it left or right. Its content and keyframes move with it. Click the empty stretch before a clip, then choose Close gap or press Delete or Backspace. Only that layer moves to the start. Other layers stay where they are. Every move or gap removal takes one Undo step.


- 01Drag the middle of a clip to move it. Drag its end handles to trim instead.
- 02Click the empty stretch before a clip, then click Close gap or press Delete or Backspace.
- 03Hold Shift while dragging to bypass snapping. Press Escape to cancel a drag.
- 04Use Undo to restore the previous position or reopen the gap.
Clearer controls and direct camera settings
Effects now have one list of control groups with Pins at the top. Look stays above them. A layer’s Look controls come before Source and Placement, and Render as sits beside its material controls. In a 3D scene, Camera settings is directly in the timeline toolbar. Camera and Scene lighting are also available under Canvas settings.
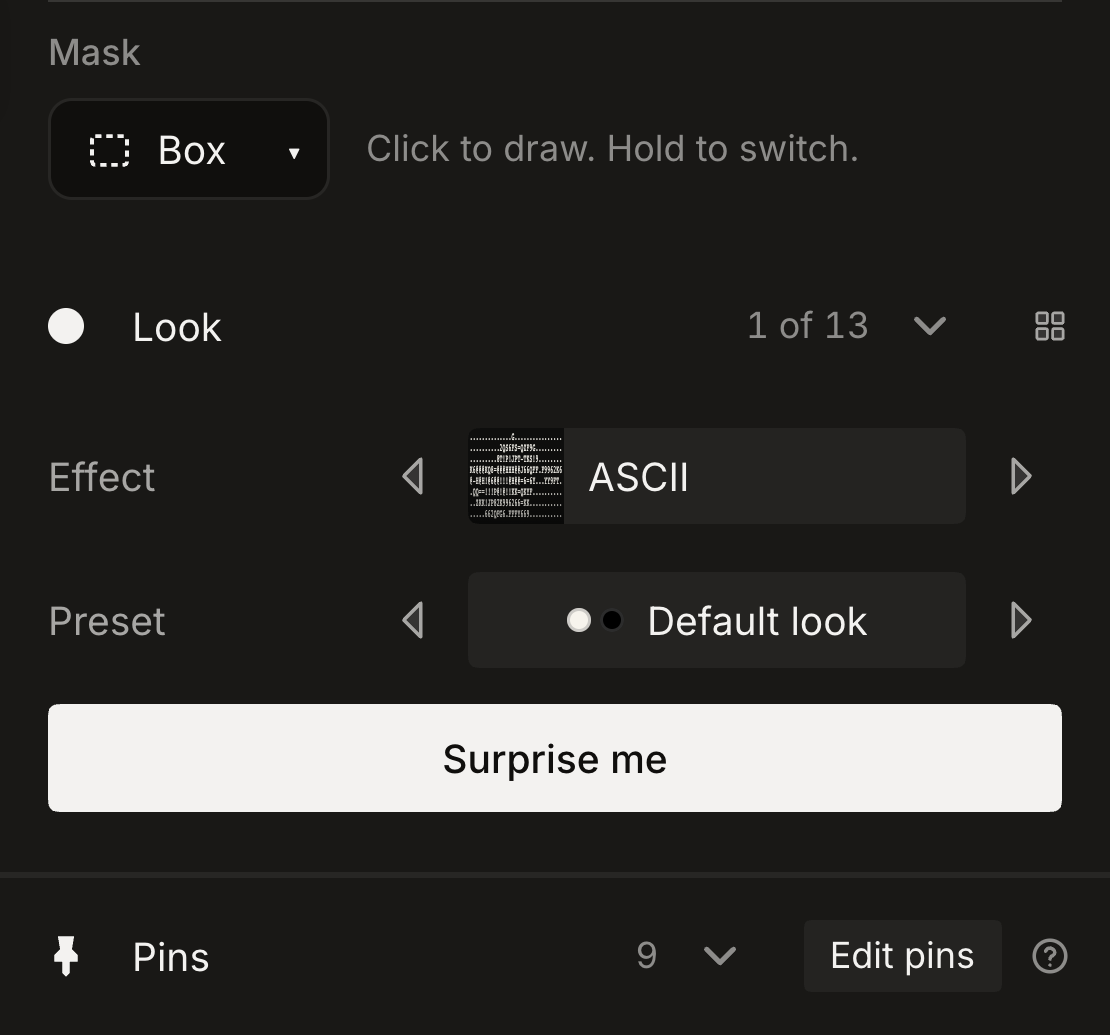
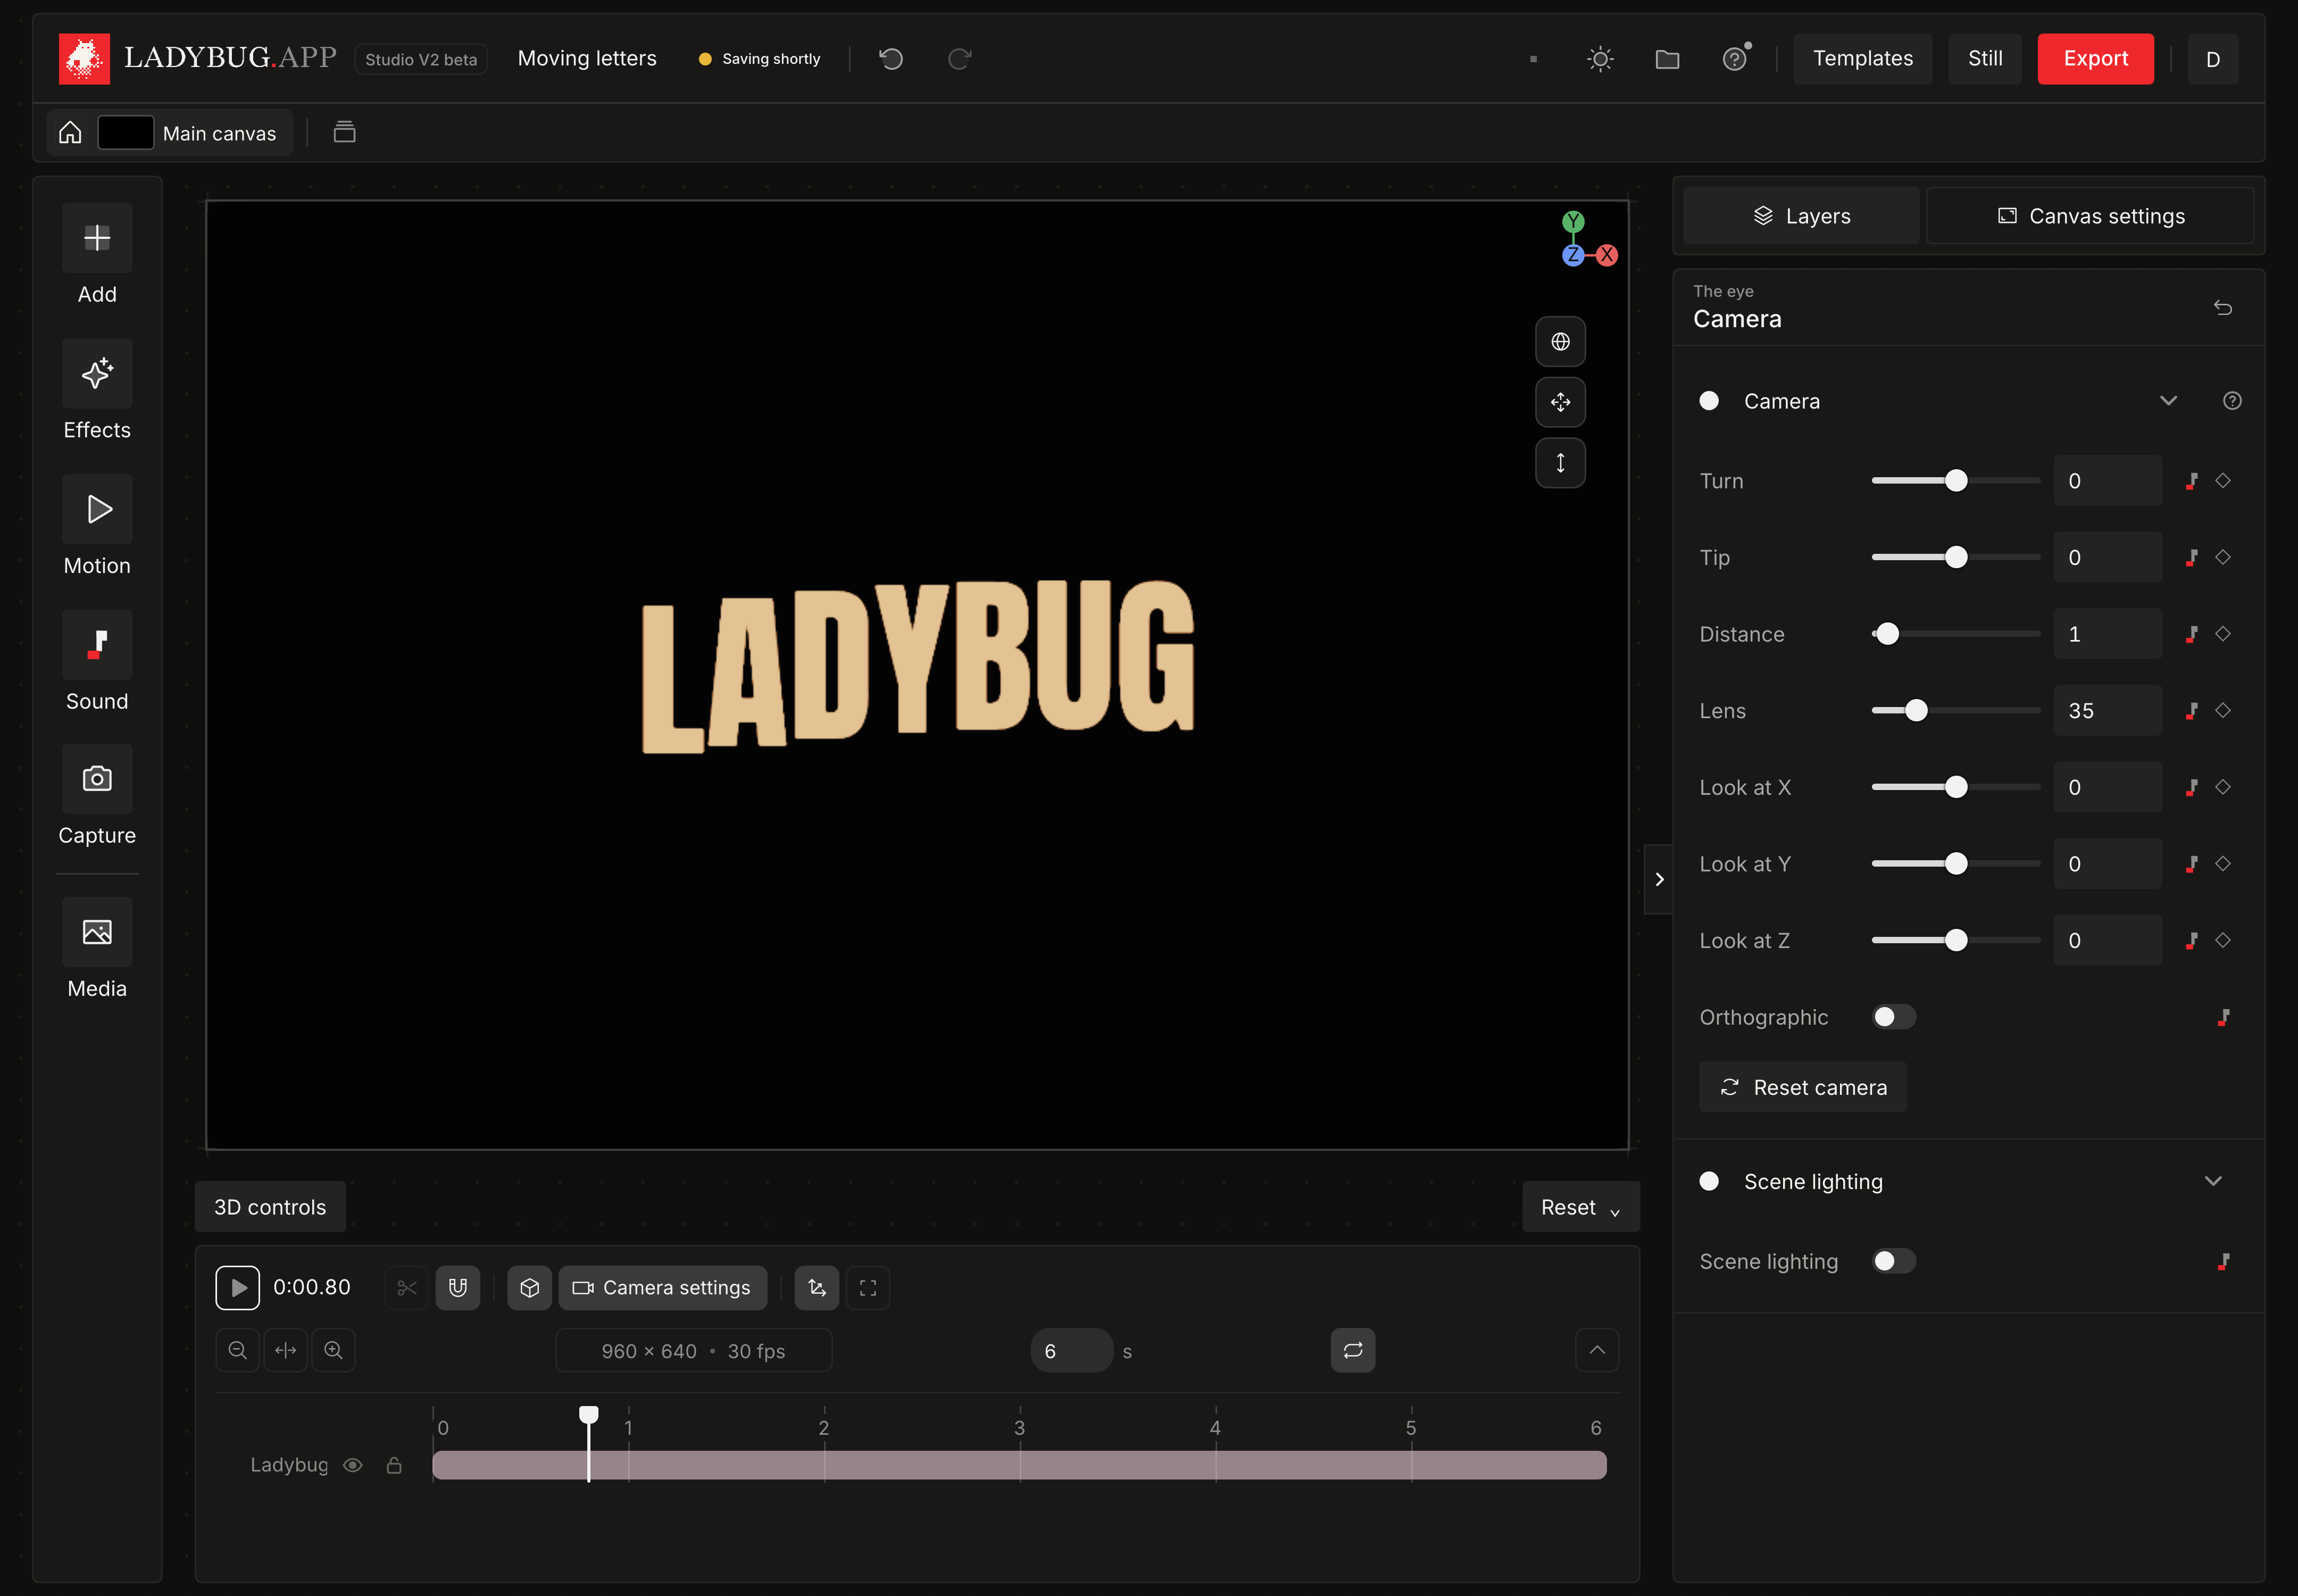
- 01Select an effect to see Pins and its other control groups in one list.
- 02Select a layer and open Look to choose Solid or Particles and adjust its material.
- 03In a 3D scene, click Camera settings above the timeline to adjust or animate the view.
3D words keep their letter motions
A word made 3D keeps letter motions such as Wave, Bounce and entrances by letter. Text and shape extrusions use more precise outlines. Make 3D carries the word’s spacing, alignment and size across, while Make 2D restores its flat text settings. Meshopt-compressed glTF models can also be imported.
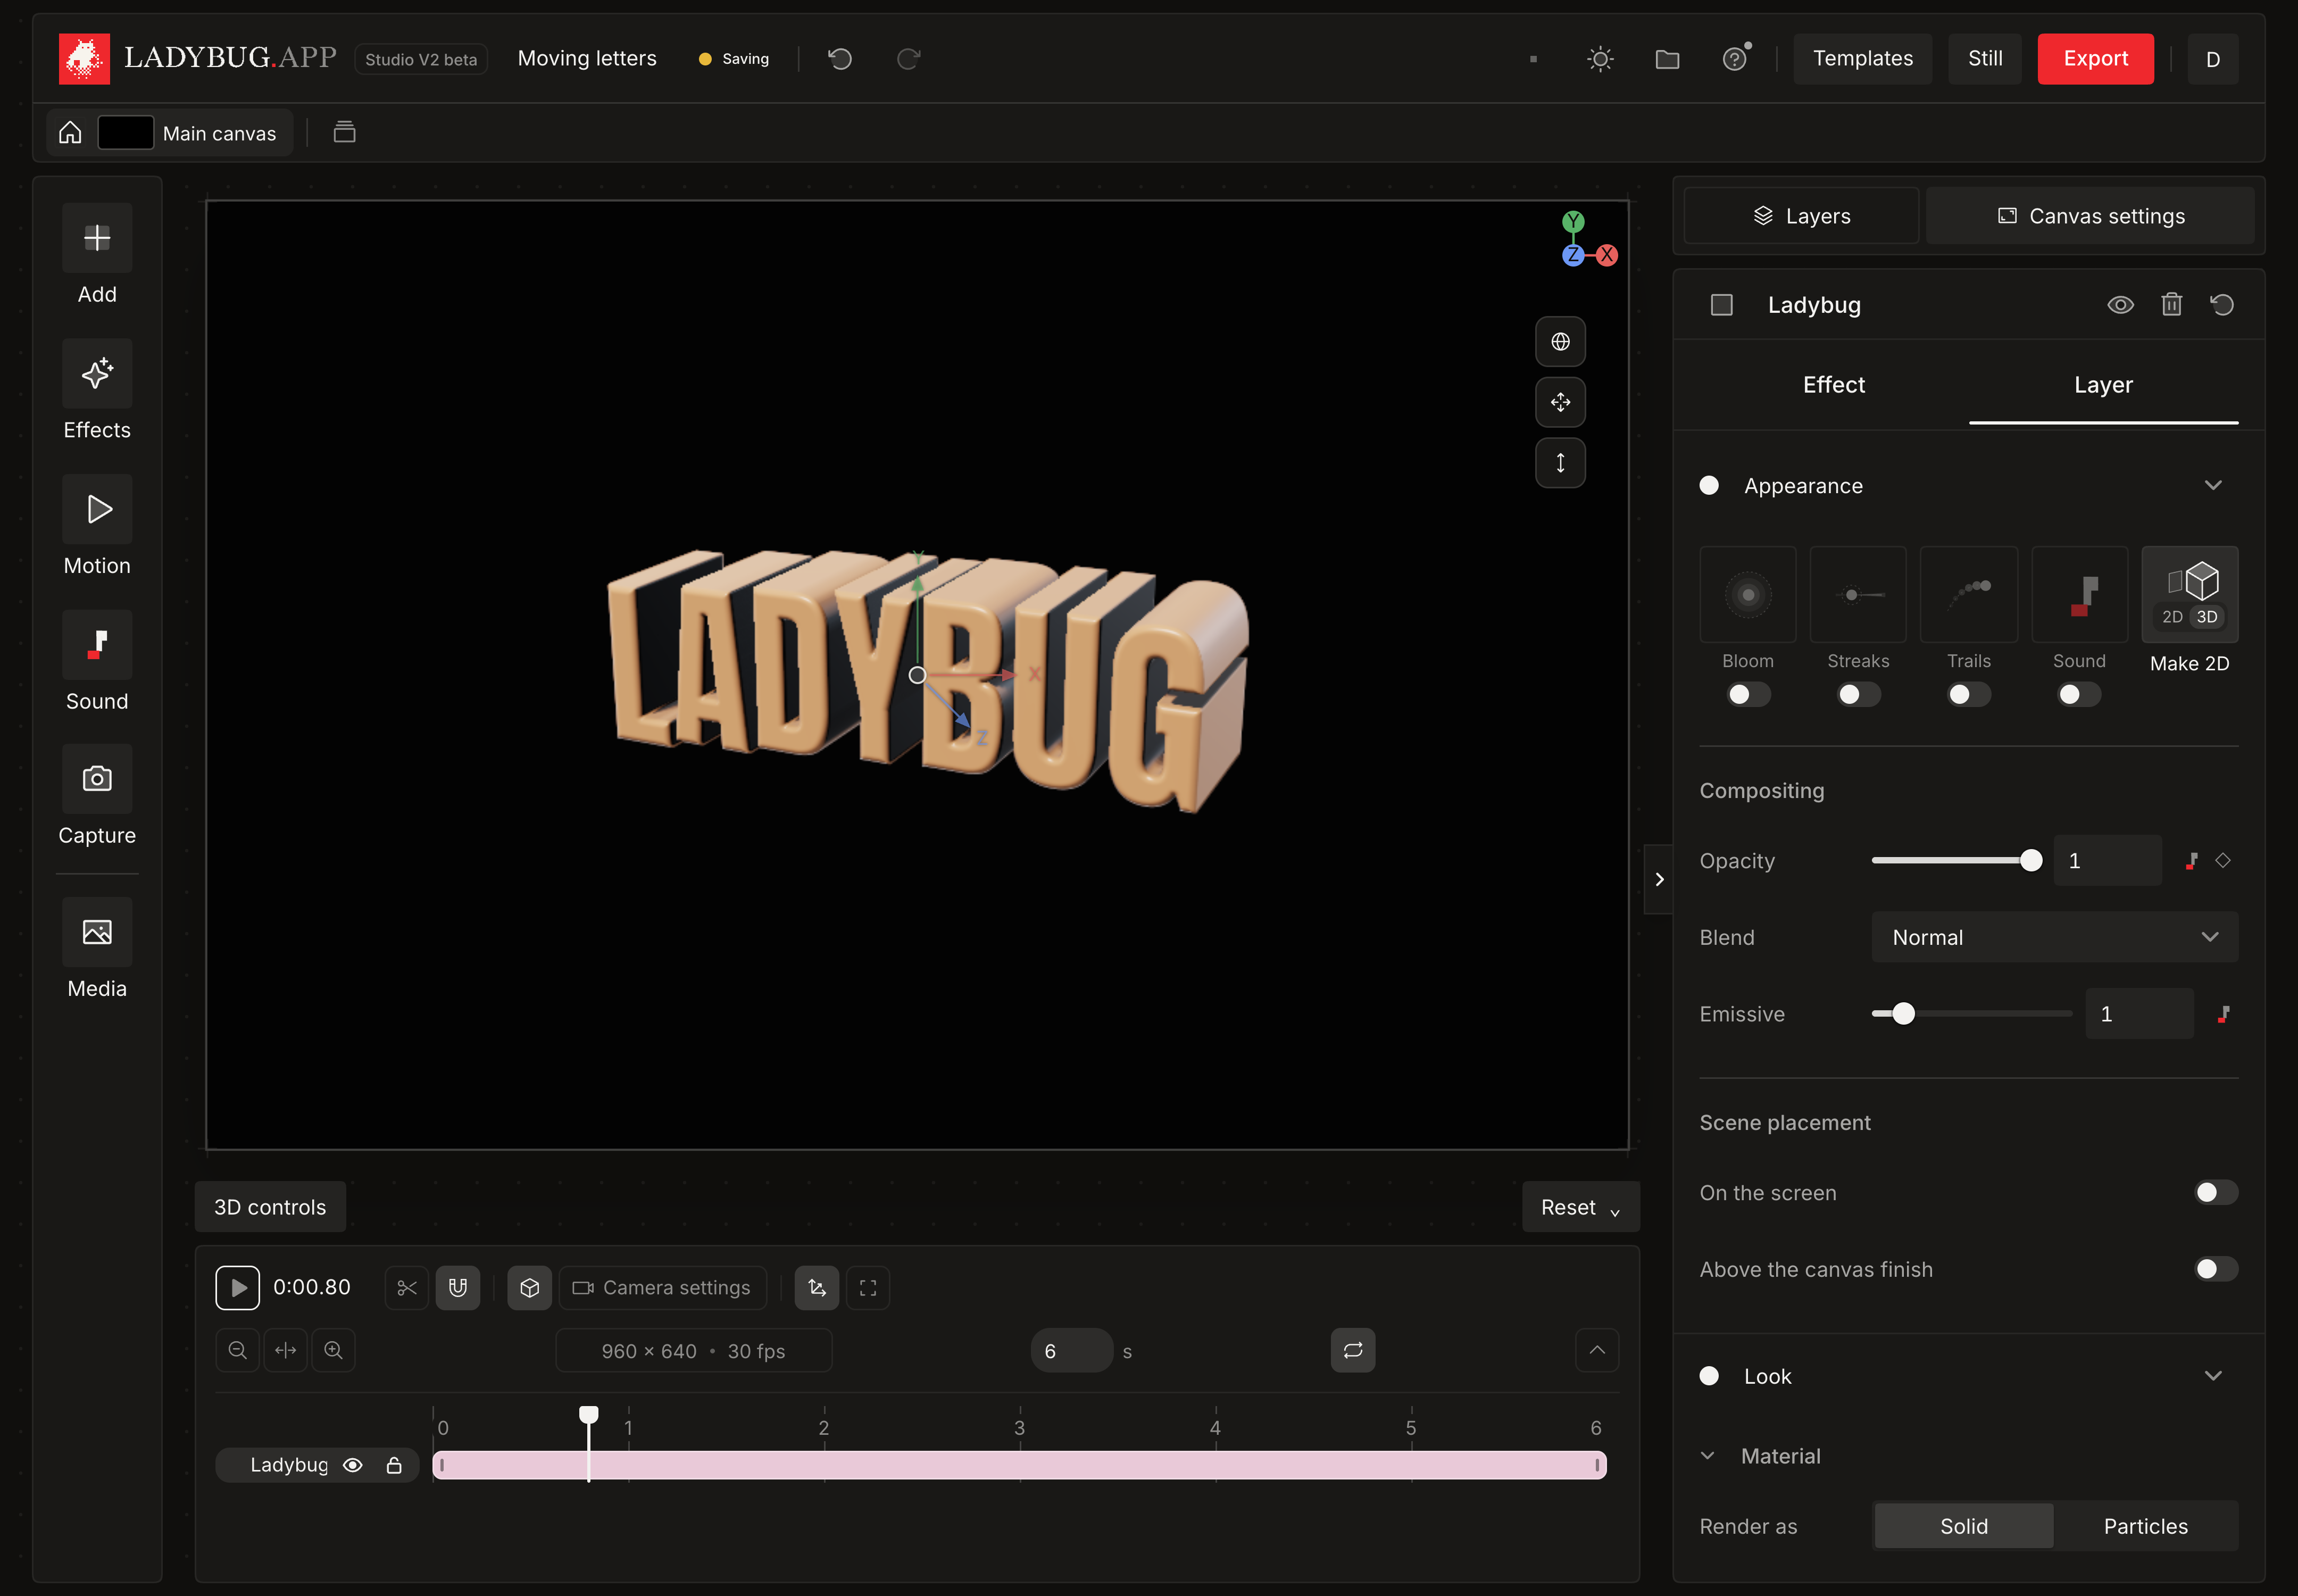
- 01Select a text layer and click Make 3D.
- 02Open Motion and add Wave or an entrance by letter, then play the timeline.
- 03Click Make 2D to return to flat text with its saved settings.
- 04Import a Meshopt-compressed GLB or glTF through Add. For Draco or KTX2 files, follow the import message to export a supported copy.